Quickstart
Start with Flower Datasets as fast as possible by learning the essentials.
Install Flower Datasets
[ ]:
! pip install -q "flwr-datasets[vision]"
If you want to use audio datasets install:
! pip install -q "flwr-datasets[audio]"
Choose the dataset
To choose the dataset, go to Hugging Face Datasets Hub and search for your dataset by name. You will pass that names to the dataset parameter of FederatedDataset. Note that the name is case-sensitive.
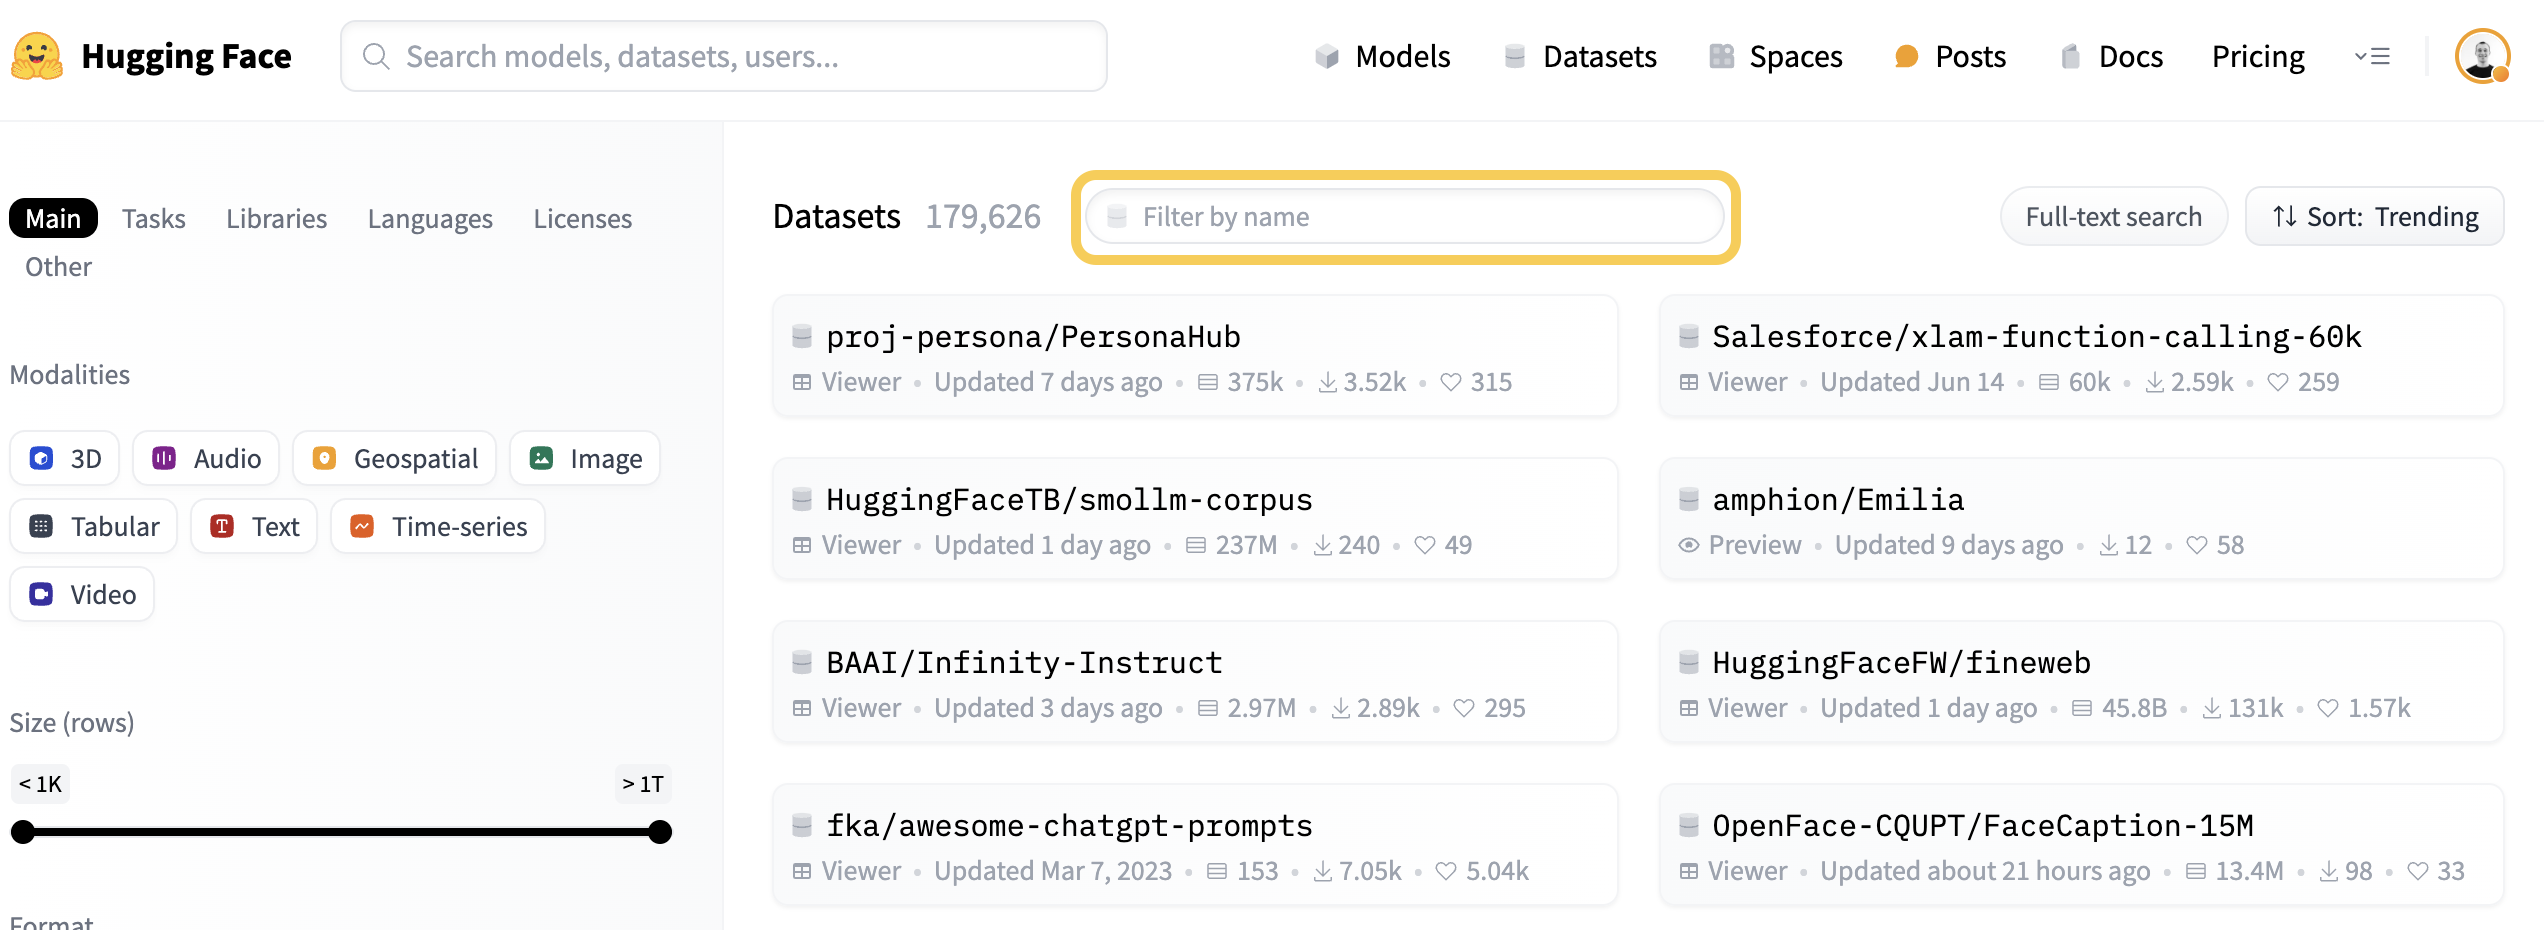
Note that once the dataset is available on HuggingFace Hub it can be immediately used in Flower Datasets (no approval from Flower team is needed, no custom code needed).
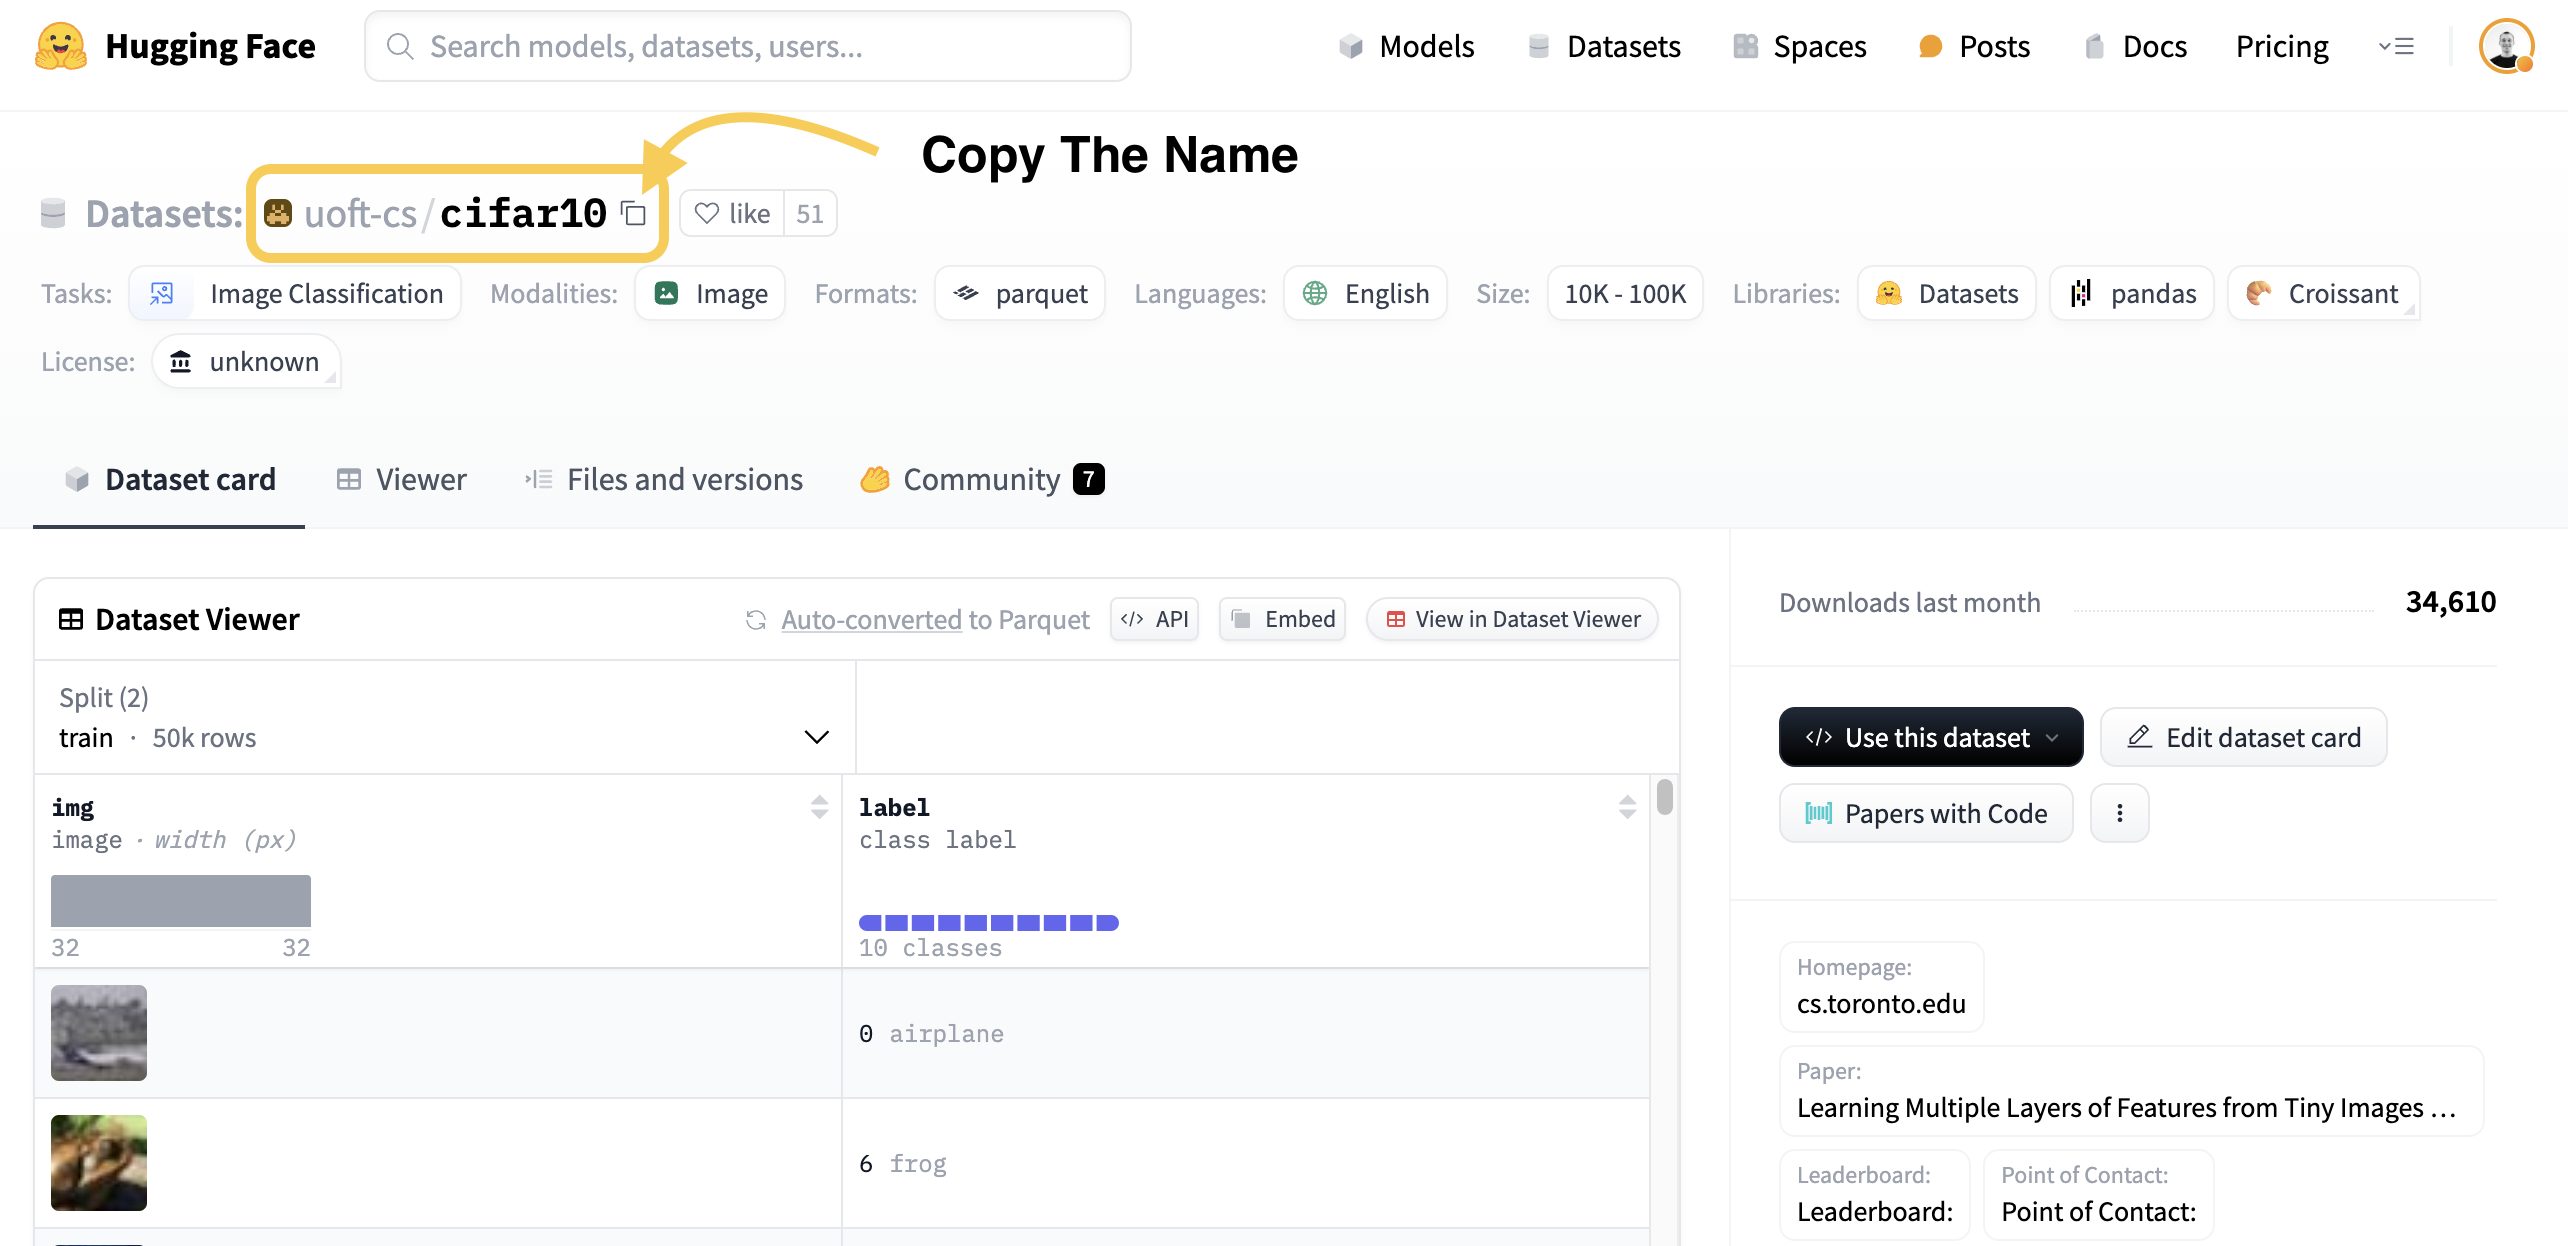
Here is how it looks for CIFAR10 dataset.
Partition the dataset
To partition a dataset (in a basic scenario), you need to choose two things: 1) A dataset (identified by a name), 2) A partitioning scheme (by selecting one of the supported partitioning schemes, see all of them here, or creating a custom partitioning scheme).
1) Dataset choice
We will pass the name of the dataset to FederatedDataset(dataset="some-name", other-parameters). In this example it will be: FederatedDataset(dataset="uoft-cs/cifar10", other-parameters)
2) Partitioner choice
We will partition the dataset in an IID manner using IidPartitioner (link to the docs). Only the train split of the dataset will be processed. In general, we do FederatedDataset(dataset="some-name", partitioners={"split-name": partitioning_scheme}), which for this example looks like:
[ ]:
from flwr_datasets import FederatedDataset
from flwr_datasets.partitioner import IidPartitioner

fds = FederatedDataset(
    dataset="uoft-cs/cifar10", partitioners={"train": IidPartitioner(num_partitions=10)}
)

# Load the first partition of the "train" split
partition = fds.load_partition(0, "train")
# You can access the whole "test" split of the base dataset (it hasn't been partitioned)
centralized_dataset = fds.load_split("test")
Now we have 10 partitions created from the train split of the CIFAR10 dataset and the test split for the centralized evaluation. Later we will convert the type of the dataset from Hugging Face’s Dataset type to the format required by PyTorch/TensorFlow frameworks.
Investigate the partition
Features
Now we will determine the names of the features of your dataset (you can alternatively do that directly on the Hugging Face website). The names can vary along different datasets e.g. “img” or “image”, “label” or “labels”. Additionally, if the label column is of ClassLabel type, we will also see the names of labels.
[ ]:
# Note this dataset has
partition.features
{'img': Image(mode=None, decode=True, id=None),
 'label': ClassLabel(names=['airplane', 'automobile', 'bird', 'cat', 'deer', 'dog', 'frog', 'horse', 'ship', 'truck'], id=None)}
Indexing
To see the first sample of the partition, we can index it like a Python list.
[ ]:
partition[0]
{'img': <PIL.PngImagePlugin.PngImageFile image mode=RGB size=32x32>,
 'label': 1}
Then we can additionally choose the specific column.
[ ]:
partition[0]["label"]
1
We can also use slicing (take a few samples). Let’s take the first 3 samples of the first partition:
[ ]:
partition[:3]
{'img': [<PIL.PngImagePlugin.PngImageFile image mode=RGB size=32x32>,
  <PIL.PngImagePlugin.PngImageFile image mode=RGB size=32x32>,
  <PIL.PngImagePlugin.PngImageFile image mode=RGB size=32x32>],
 'label': [1, 2, 6]}
We get a dictionary where the keys are the names of the columns and the values are list of the corresponding values of each row of the dataset. So to take the first 3 labels we can do:
[ ]:
partition[:3]["label"]
[1, 2, 6]
Note that the indexing by column first is also possible but discouraged because the whole column will be loaded into the memory.
[ ]:
partition["label"][:3]
[1, 2, 6]
You can also select a subset of the dataset and keep the same type (dataset.Dataset) instead of receiving a dictionary of values.
[ ]:
partition.select([0, 1, 2])
Dataset({
    features: ['img', 'label'],
    num_rows: 3
})
And this dataset contains the same samples as we saw before.
[ ]:
partition.select([0, 1, 2])[:]
{'img': [<PIL.PngImagePlugin.PngImageFile image mode=RGB size=32x32>,
  <PIL.PngImagePlugin.PngImageFile image mode=RGB size=32x32>,
  <PIL.PngImagePlugin.PngImageFile image mode=RGB size=32x32>],
 'label': [1, 2, 6]}
Use with PyTorch/NumPy/TensorFlow
For more detailed instructions, go to:
PyTorch
Transform the Dataset into the DataLoader, use the PyTorch transforms (Compose and all the others are possible).
[ ]:
! pip install -q torch torchvision
[ ]:
from torch.utils.data import DataLoader
from torchvision.transforms import ToTensor

transforms = ToTensor()


def apply_transforms(batch):
    # For CIFAR-10 the "img" column contains the images we want to apply the transforms to
    batch["img"] = [transforms(img) for img in batch["img"]]
    return batch


partition_torch = partition.with_transform(apply_transforms)
dataloader = DataLoader(partition_torch, batch_size=64)
The Dataloader created this way does not return a Tuple when iterating over it but a Dict with the names of the columns as keys and features as values. Look below for an example.
[ ]:
for batch in dataloader:
    print(f"Return type when iterating over a dataloader: {type(batch)}")
    print(batch["img"].shape)
    print(batch["label"].shape)
    break
Return type when iterating over dataloader: <class 'dict'>
torch.Size([64, 3, 32, 32])
torch.Size([64])
NumPy
NumPy can be used as input to the TensorFlow and scikit-learn models. The transformation is very simple.
[ ]:
partition_np = partition.with_format("numpy")
X_train, y_train = partition_np["img"], partition_np["label"]
TensorFlow Dataset
Transformation to TensorFlow Dataset is a one-liner.
[ ]:
! pip install -q tensorflow
[ ]:
tf_dataset = partition.to_tf_dataset(
    columns="img", label_cols="label", batch_size=64, shuffle=True
)
Final remarks
Congratulations, you now know the basics of Flower Datasets and are ready to perform basic dataset preparation for Federated Learning.
Next
This is the first quickstart tutorial from the Flower Datasets series. See other tutorials: