Exécuter Flower sur plusieurs clusters OpenShift
Dans ce guide, vous apprendrez à déployer Flower dans plusieurs Red Hat OpenShift (RHOS) plateformes d’application. Ce modèle de déploiement est utile lors du raccordement de plusieurs clusters OpenShift déployés dans des environnements qui exécutent des charges de travail critiques, telles que les environnements de recherche sécurisés (aussi appelés environnements de recherche fiables, ou secure data environments), centres de données, clusters haute performance, ou serveurs sur place.
Note
Ce guide suppose que vous avez une connaissance fonctionnelle d’OpenShift et que vous avez déployé Flower dans un seul cluster OpenShift avant. Si vous êtes nouveau à OpenShift ou à Flower, veuillez consulter notre guide sur how to run Flower on OpenShift avant de poursuivre avec ce déploiement multi-cluster.
Pour connecter plusieurs clusters OpenShift, nous utiliserons Red Hat Service Interconnect. Sur la base du projet open source Skupper, l’interconnect simplifie les connexions entre sites. Les applications et services, tels que SuperLink et SuperNodes, peuvent communiquer entre eux en utilisant l’interconnect comme s’ils se trouvaient dans le même réseau.
Skupper fonctionne en créant un site dans chaque cluster, avec un routeur (ou plusieurs) qui connectent à d’autres sites sur le réseau d’application. Le réseau d’application est le réseau qui relie plusieurs clusters K8s. Ainsi, le cluster où SuperLink est déployé nécessite un site Skupper pour accepter les liens et acheminer le trafic entrant, tandis que le cluster où SuperNode est déployé doit avoir un site Skupper pour rejoindre le réseau d’application et acheminer les requêtes sortantes via l’interconnect.
Pre-requisites
Installez la CLI Skupper sur votre système local en suivant les instructions on the Skupper website.
Installez les outils Kubectl sur votre système local en suivant les instructions on the Kubernetes website.
Créer des clusters OpenShift
Pour ce guide, nous allons créer deux clusters OpenShift à l’aide de Red Hat OpenShift Service on AWS (ROSA). Suivez les étapes dans notre guide complémentaire here pour déployer les clusters. Dans ce guide, on suppose que vos clusters sont déployés dans différentes régions AWS ou zones de disponibilité.
Ensuite, déployez SuperLink dans le premier cluster. Pour référence, vous pouvez suivre les étapes dans notre guide complémentaire deployment steps.
Installez l’opérateur de Service Interconnect
Dans chaque cluster OpenShift, installez l’opérateur Red Hat Service Interconnect à partir du OperatorHub :
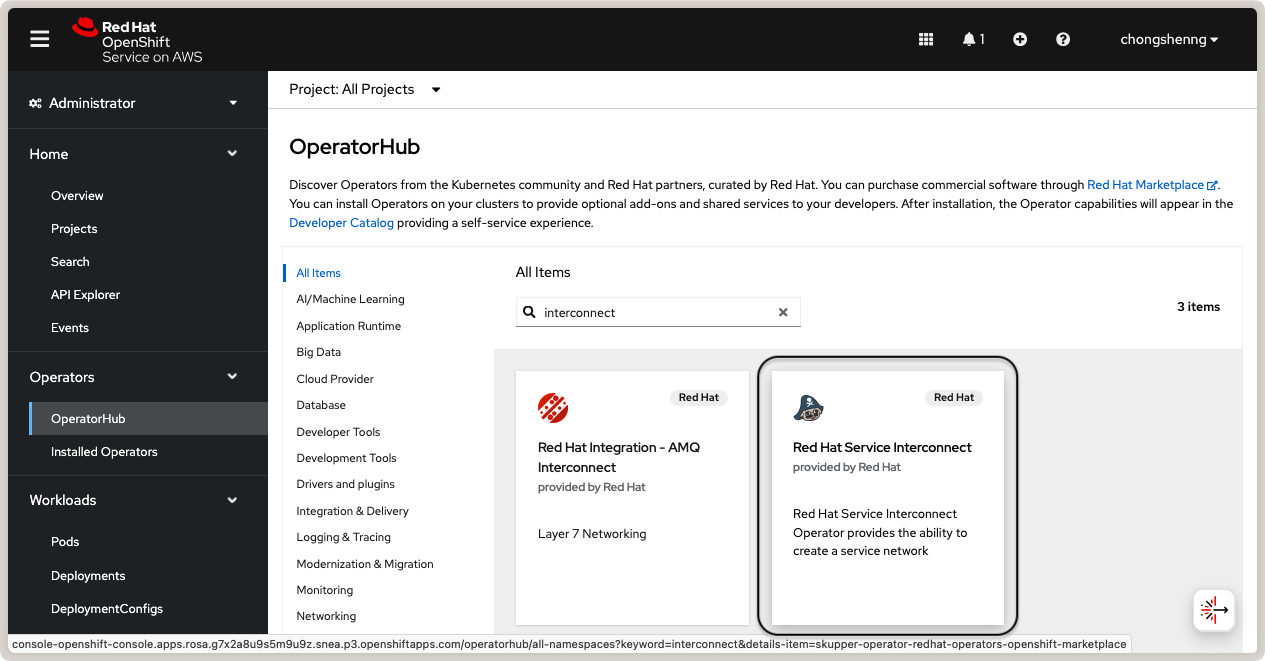
Recherchez l’opérateur Red Hat Service Interconnect sur OperatorHub.
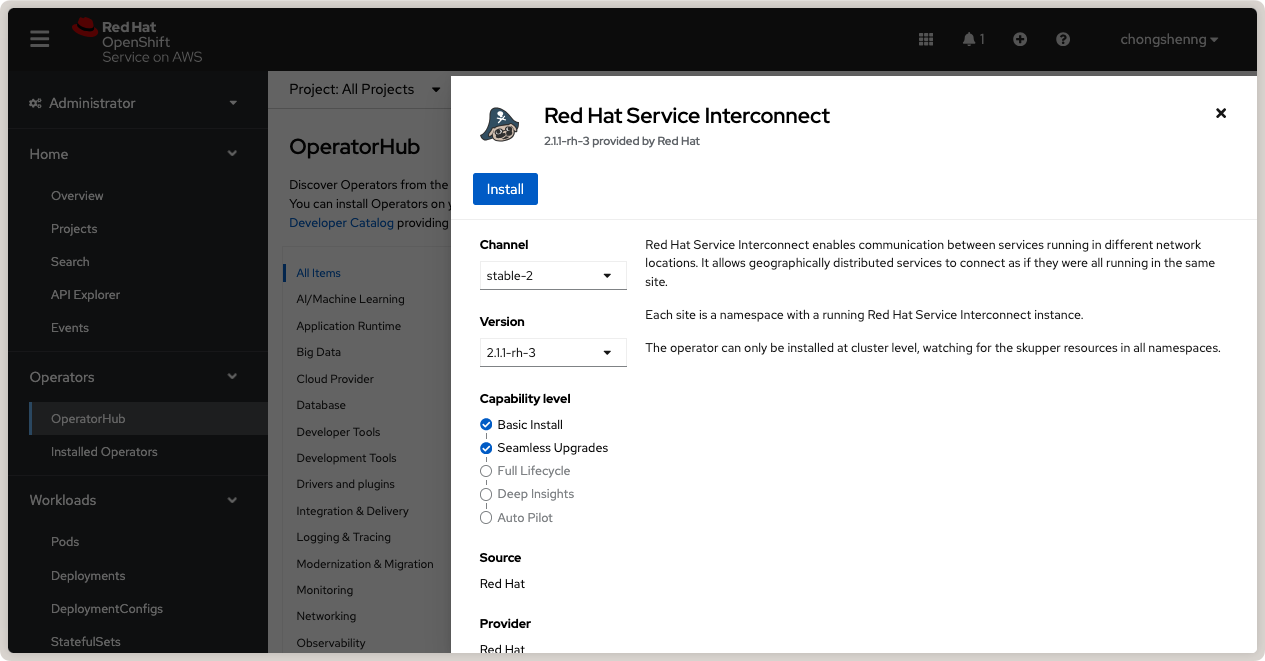
Installez l’opérateur Red Hat Service Interconnect à partir du OperatorHub.
Créez des sites Skupper
À partir de votre système local, vous allez maintenant créer un site Skupper dans chaque cluster OpenShift et connecter les sites pour entraîner une application réseau.
Tout d’abord, définissez le namespace dans votre CLI en vous connectant à votre premier cluster OpenShift (celui avec SuperLink déployé) :
oc login --server=<your-openshift-api-endpoint> --web
Si c’est réussi, vous devriez voir un message similaire à celui-ci :
$ oc login --server=<your-openshift-api-endpoint> --web
Opening login URL in the default browser: [...]
Login successful.

You have access to 81 projects, the list has been suppressed. You can list all projects with 'oc projects'

Using project "default".
Maintenant, passez au projet où vous avez déployé SuperLink :
oc project <your-namespace>
Dans notre previous guide, nous avons utilisé le nom de projet flower-openshift-demo, donc faisons cela :
$ oc project flower-openshift-demo
Now using project "flower-openshift-demo" on server "<your-openshift-api-endpoint>".
Astuce
Si vous êtes incertain du nom du projet, vous pouvez lister tous les projets dont vous avez accès en utilisant la commande oc projects. Vous pouvez également vérifier que vous êtes dans le contexte correct en lançant oc whoami --show-context.
Avec le namespace correct défini, créez un site Skupper dans ce cluster :
skupper site create superlink-interconnect --enable-link-access
Cette commande crée un site Skupper nommé superlink-interconnect et l’option --enable-link-access permet d’accéder à des liens à partir de sites distants ; cette option est nécessaire pour le site où SuperLink est déployé afin que les SuperNodes dans d’autres clusters puissent se connecter à lui. Vous devriez voir un sortie similaire à celui-ci :
$ skupper site create superlink-interconnect --enable-link-access
Waiting for status...
Site "superlink-interconnect" is ready.
Finalement, répétez les étapes ci-dessus pour créer un site Skupper dans le deuxième cluster OpenShift (où SuperNode sera déployé). Connectez-vous au deuxième cluster, passez au namespace correct et créez le site Skupper :
oc login --server=<your-openshift-api-endpoint> --web
oc project <your-namespace>
skupper site create supernode-1-interconnect
Notez que l’espace de noms peut être différent du premier cluster et dépend du nom du projet créé dans le deuxième cluster. Notez également que nous ne utilisons pas l’option --enable-link-access dans la commande Skupper car ce site n’a besoin que de se connecter à le site SuperLink.
Liez des sites Skupper
Maintenant que nous avons créé des sites Skupper dans les deux clusters, nous allons lier les sites pour entraîner une application réseau.
À partir de votre système local et dans l’espace de noms du cluster SuperLink, générer un ressource Link comme suit :
skupper link generate > superlink-interconnect-link.yaml \
    --namespace flower-openshift-demo
Astuce
Pour plus d’informations sur les concepts de sites et de liens, veuillez vous référer au Skupper Link concepts.
Cette commande génère une ressource Link et la sauvegarde dans le fichier superlink-interconnect-link.yaml. L’option --namespace spécifie l’espace de noms du cluster SuperLink.
Avec la ressource Link générée, passez dans l’espace de noms du cluster SuperNode, et appliquez la ressource dans celui-ci :
kubectl apply -f superlink-interconnect-link.yaml
Vous devriez voir un sortie similaire à celui-ci :
$ kubectl apply -f superlink-interconnect-link.yaml
link.skupper.io/link-superlink-interconnect-skupper-router created
secret/link-superlink-interconnect created
Pour vérifier l’état du lien, exécutez la commande suivante :
skupper link status
Il peut être nécessaire d’effectuer cette commande plusieurs fois avant que le lien soit prêt :
$ skupper link status
NAME                                            STATUS  COST    MESSAGE
link-superlink-interconnect-skupper-router      Pending 1       Not Operational

$ skupper link status
NAME                                            STATUS  COST    MESSAGE
link-superlink-interconnect-skupper-router      Ready   1       OK
Créez un connecteur
Un connecteur relie une extrémité de connexion locale à des connecteurs dans des sites distants, ce qui, dans ce cas, est le cluster SuperNode. Cela permet à SuperLink de communiquer avec SuperNode. Les écouteurs et les connecteurs sont associés en utilisant des clés de routage. Dans le premier cluster (où SuperLink est déployé), créez un connecteur à l’aide de la commande suivante :
skupper connector create <name> <port> [--routing-key <name> --workload <workload-name>]
Ici, <name> est un nom pour le connecteur, <port> est le numéro de port que le connecteur écoute sur, et --workload <workload-name> est un argument facultatif qui spécifie le nom d’un workload (c’est-à-dire déploiement) à associer avec le connecteur. Le <name> est la clé de routage par défaut si l’option --routing-key n’est pas spécifiée.
Dans notre déploiement, SuperLink écoute sur le port 9092 correspondant à l’API Fleet (pour plus de détails, consultez notre référence sur Flower network communication). Puisque nous avons donné au déploiement SuperLink le nom superlink, nous allons utiliser celui-ci comme nom de workload :
$ skupper connector create fleet-api 9092 --workload deployment/superlink
Waiting for create to complete...
Connector "fleet-api" is configured.
Créez un écouteur
Un écouteur relie une extrémité de connexion locale aux connecteurs dans des sites distants, ce qui, dans ce cas, est le cluster SuperLink. Cela permet à SuperNode de communiquer avec SuperLink. Dans le deuxième cluster (où SuperNode sera déployé), créez un écouteur en utilisant la commande suivante :
skupper listener create <name> <port> [options]
Le <name> est le nom de la ressource d’écoute, et sera la clé de routage par défaut et hôte si les options --routing-key et --host ne sont pas spécifiées. Dans notre cas, le <name> doit correspondre au nom du connecteur que nous avons créé dans le cluster SuperLink, qui est fleet-api. Le <port> est le numéro de port que l’écouteur écoute sur, qui doit également correspondre au numéro de port du connecteur (9092) :
$ skupper listener create fleet-api 9092
Waiting for create to complete...
Listener "fleet-api" is configured.
Déployez SuperNode dans un Cluster OpenShift Séparé
Avec le listener créé, nous pouvons maintenant déployer SuperNode dans le deuxième cluster OpenShift en utilisant le service de listener créé par Skupper. Le service de listener est un service Kubernetes que Skupper crée automatiquement lorsque vous créez un listener. Vous pouvez trouver l’adresse DNS du service de listener en naviguant vers la console OpenShift > Réseau > Services, et chercher le service nommé fleet-api. La Hostname est listée dans la section Service details.
Copiez et collez la définition YAML suivante pour le pod SuperNode.
supernode-1-deployment.yaml
apiVersion: apps/v1
kind: Deployment
metadata:
  name: supernode-1
  namespace: flower-supernode-1
spec:
  replicas: 1
  selector:
    matchLabels:
      app: supernode-1
  template:
    metadata:
      labels:
        app: supernode-1
    spec:
      # Ensures mounted volumes are writable by the pod's non-root user on OpenShift
      securityContext:
        runAsNonRoot: true
      containers:
      - name: supernode
        image: flwr/supernode:1.33.0
        args:
          - "--insecure"
          - "--superlink"
          - "<listener-service-dns>:9092" # Use the listener service DNS
          - "--clientappio-api-address"
          - "0.0.0.0:9094"
        ports:
        - containerPort: 9094
        volumeMounts:
        - name: cache-volume
          mountPath: /app/.cache
        - name: tmp-volume
          mountPath: /var/tmp
        - name: fab-volume
          mountPath: /app/.flwr
        - name: config-volume
          mountPath: /app/.config
      volumes:
      - name: cache-volume
        emptyDir:
          sizeLimit: 50Mi
      - name: tmp-volume
        emptyDir:
          sizeLimit: 50Mi
      - name: fab-volume
        emptyDir:
          sizeLimit: 50Mi
      - name: config-volume
        emptyDir:
          sizeLimit: 50Mi
Maintenant, lorsque vous vérifiez les journaux du pod SuperLink dans le premier cluster OpenShift, vous devriez voir que SuperNode a réussi à se connecter à partir du cluster distant.
Félicitations ! Vous avez réussi à déployer et exécuter SuperLink et SuperNode dans des clusters OpenShift différents. Vous pouvez étendre encore votre fédération en déployant des SuperNodes supplémentaires dans d’autres clusters en répétant les étapes ci-dessus.
Ce modèle de déploiement permet de faire échelonner votre déploiement Flower sur plusieurs clusters où des plateformes de déploiement sécurisées comme OpenShift sont nécessaires, ce qui le rend adapté pour des charges de travail critiques dans des environnements de recherche, des datacenters et des serveurs en local.
Références
Pour en savoir plus sur Red Hat Service Interconnect et les concepts Skupper, veuillez vous référer aux ressources suivantes :
Pour une lecture plus approfondie sur le déploiement de Flower avec Red Hat, Docker et Kubernetes, consultez nos guides ci-dessous :
Pour en savoir plus sur l’exécution de Flower sur d’autres plateformes cloud, consultez nos guides ci-dessous :