Connecter des SuperNodes à la grille SuperGrid
Ce guide montre comment vous inscrire un SuperNode dans SuperGrid et démarrer le processus flower-supernode afin qu’il puisse se connecter à SuperGrid. Une fois connecté, le SuperNode peut participer aux exécutions soumises à des fédérations qui l’incluent.
Note
Ce guide suppose que vous avez déjà un compte Flower sur flower.ai et que vous pouvez accéder à la grille SuperGrid. La connexion de SuperNodes peut nécessiter un accès supplémentaire. Contactez hello@flower.ai pour le demander.
Vous aurez besoin de :
Accès à la grille SuperGrid sur https://flower.ai/supernodes/.
Access to a
Deploymentfederation.Simulationfederations do not support adding SuperNodes.Un couple de clés publique/privée pour chaque SuperNode que vous souhaitez connecter. Ce tutoriel montre comment créer ces couples avec
ssh-keygendans la console.Une machine où le processus SuperNode peut continuer à tourner.
The sections below show the SuperGrid UI workflow. At the end of this page, the same steps are shown in compact form with the Flower CLI.
Enregistrer les SuperNodes avec la grille SuperGrid
Chaque SuperNode utilise sa propre paire de clés. La clé publique est enregistrée avec la grille SuperGrid, et la clé privée reste sur la machine qui exécute le SuperNode.
Créez une paire de clés pour le premier SuperNode :
# Create the directory where you'll keep SuperNode keys if it doesn't exist
$ mkdir -p ~/supernodes_keys
$ ssh-keygen -t ecdsa -b 384 -N "" -f ~/supernodes_keys/supernode-1
Cette création de deux fichiers :
~/supernodes_keys/supernode-1: la clé privée, utilisée lors du démarrage du SuperNode. Ne partagez jamais la clé privée ou ne l’envoyez nulle part. Cette clé devrait uniquement être utilisée pour démarrer le SuperNode.~/supernodes_keys/supernode-1.pub: la clé publique, utilisée lors de l’enregistrement du SuperNode dans SuperGrid.
Copiez le contenu de supernode-1.pub dans votre presse-papier. Une façon d’inspecter la clé publique est avec la commande cat:
$ cat ~/supernodes_keys/supernode-1.pub

# It should print something like this:
ecdsa-sha2-nistp384 AAAAE2VjZHNhLXNX/7....rxlJbNiDGwQ4YEVw== <username>@<hostname>
Copiez la clé complète imprimée à l’écran, y compris le type de clé au début et l’optionnel commentaire à la fin.
Alors, allez à https://flower.ai/supernodes/ et cliquez sur Register SuperNode.
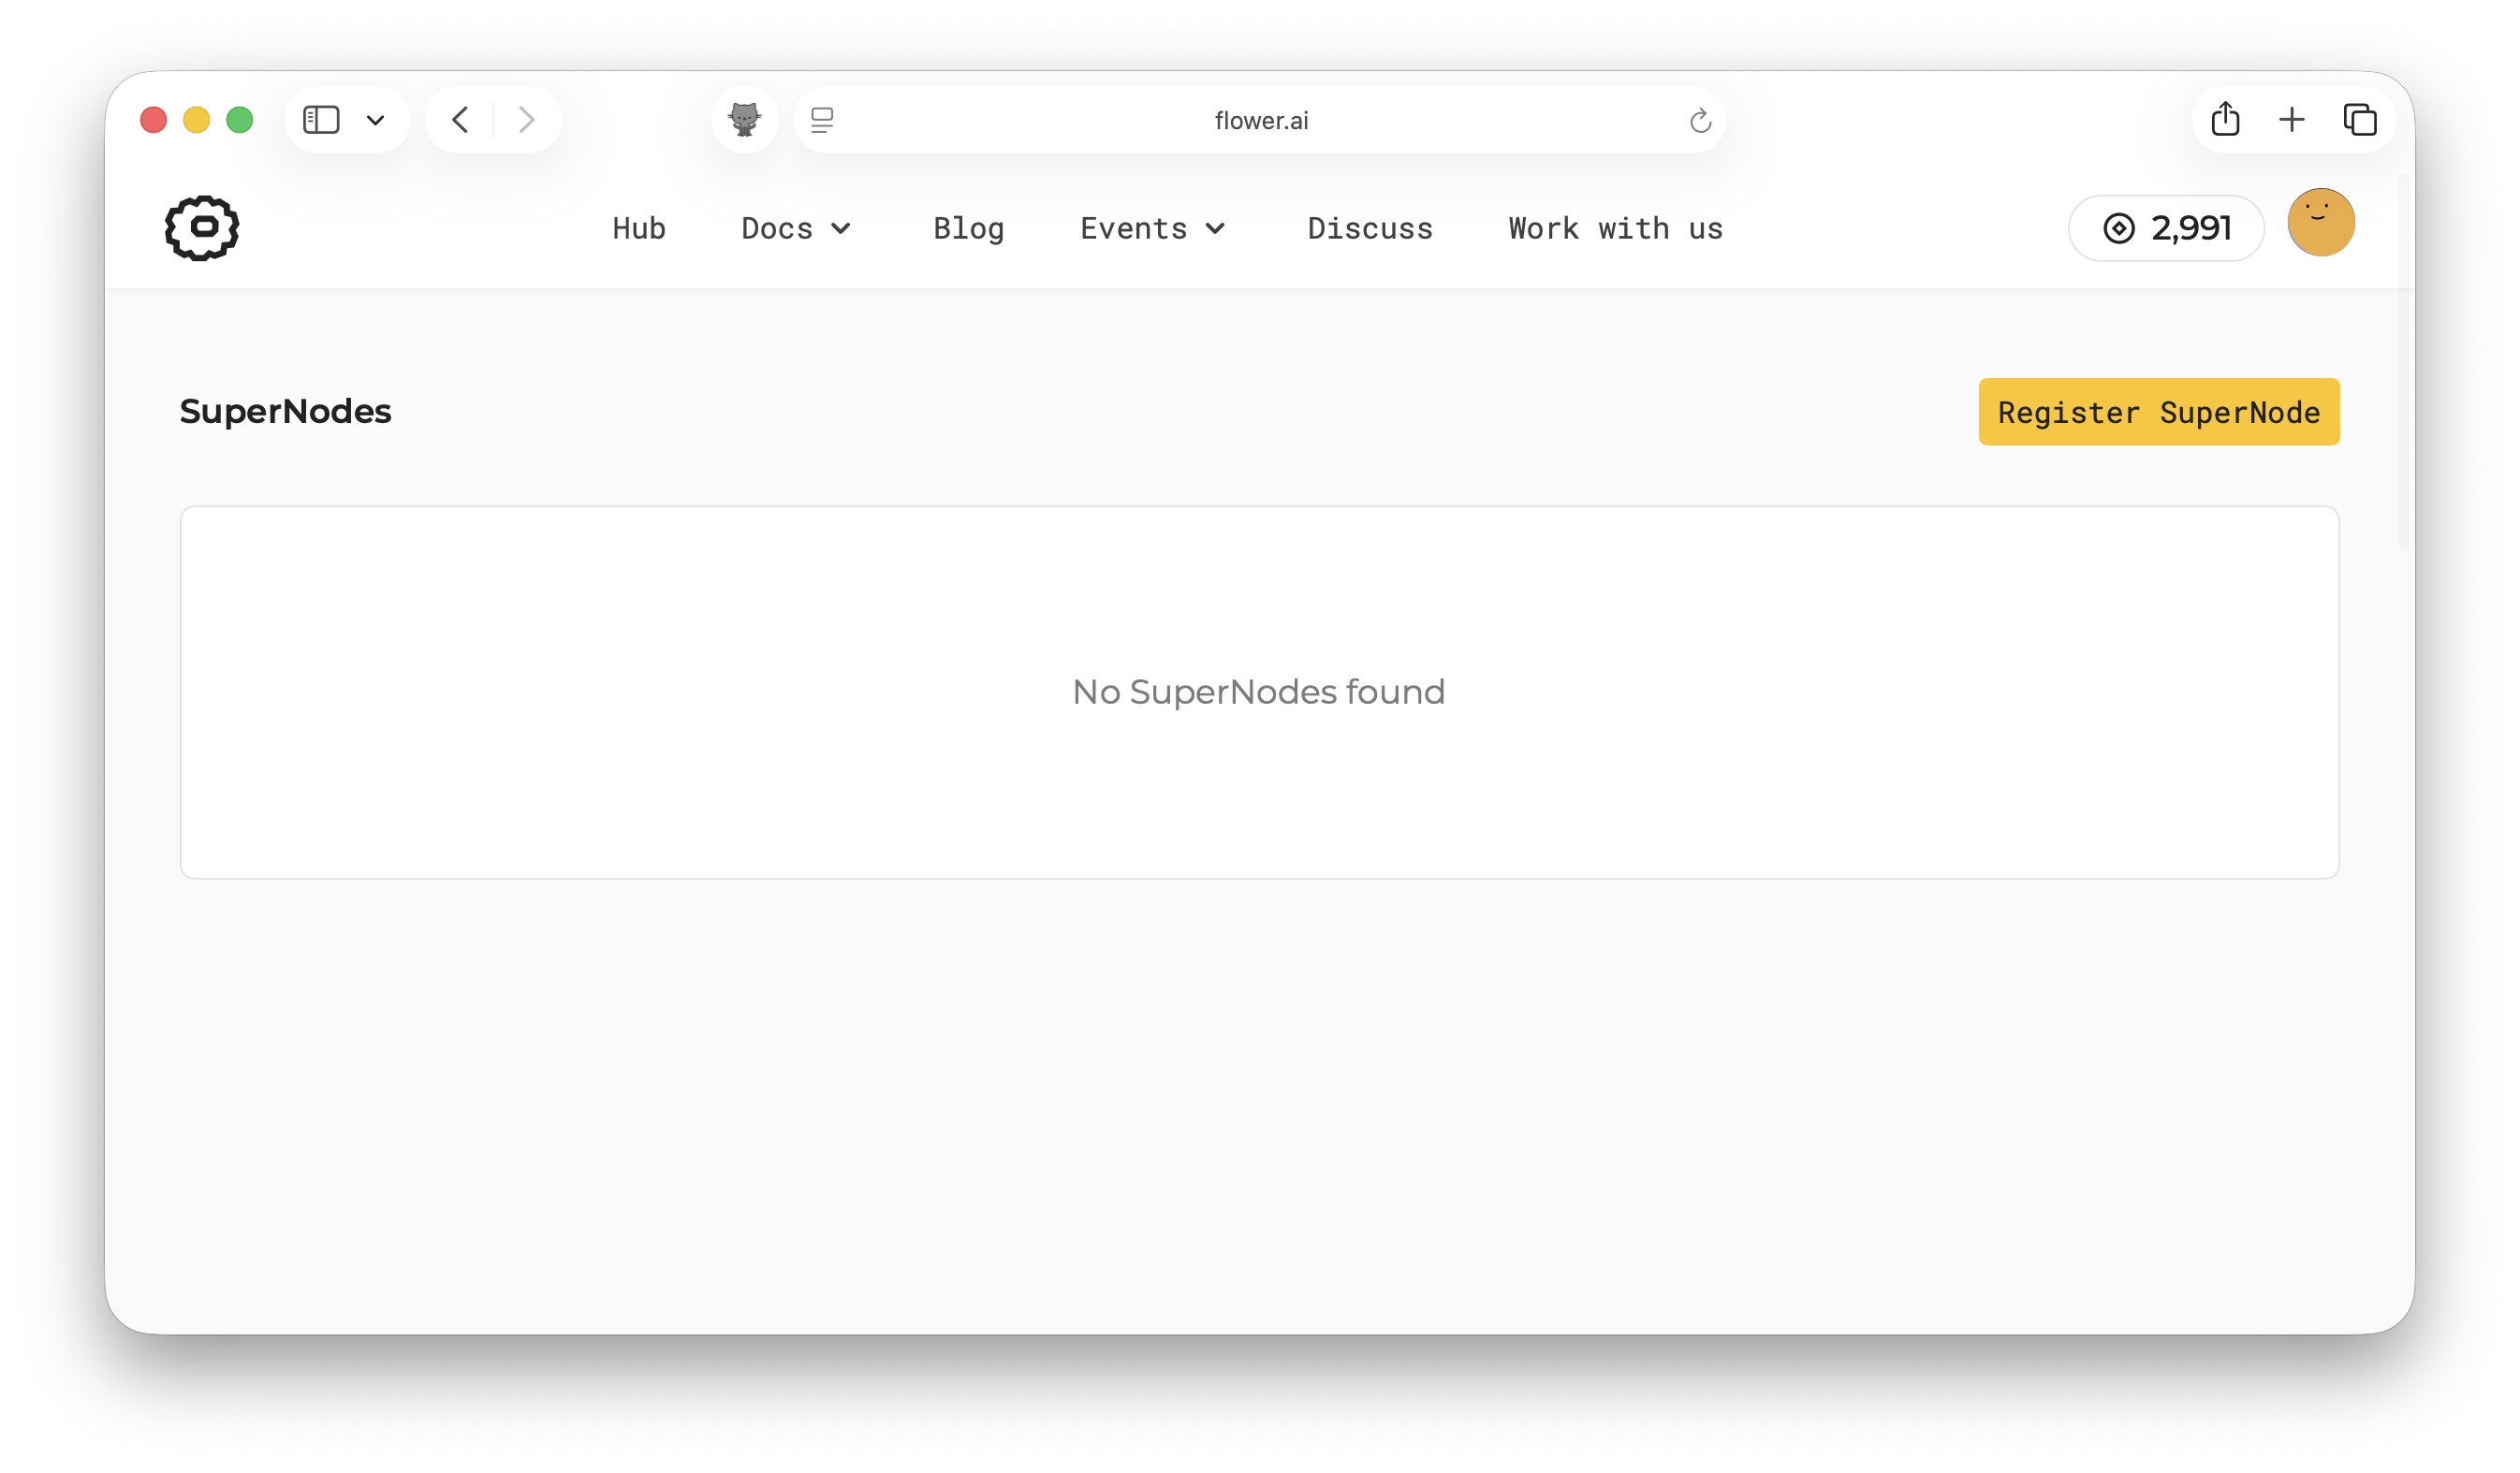
Dans le dialogue, collez la clé publique et cliquez sur __PH2__.
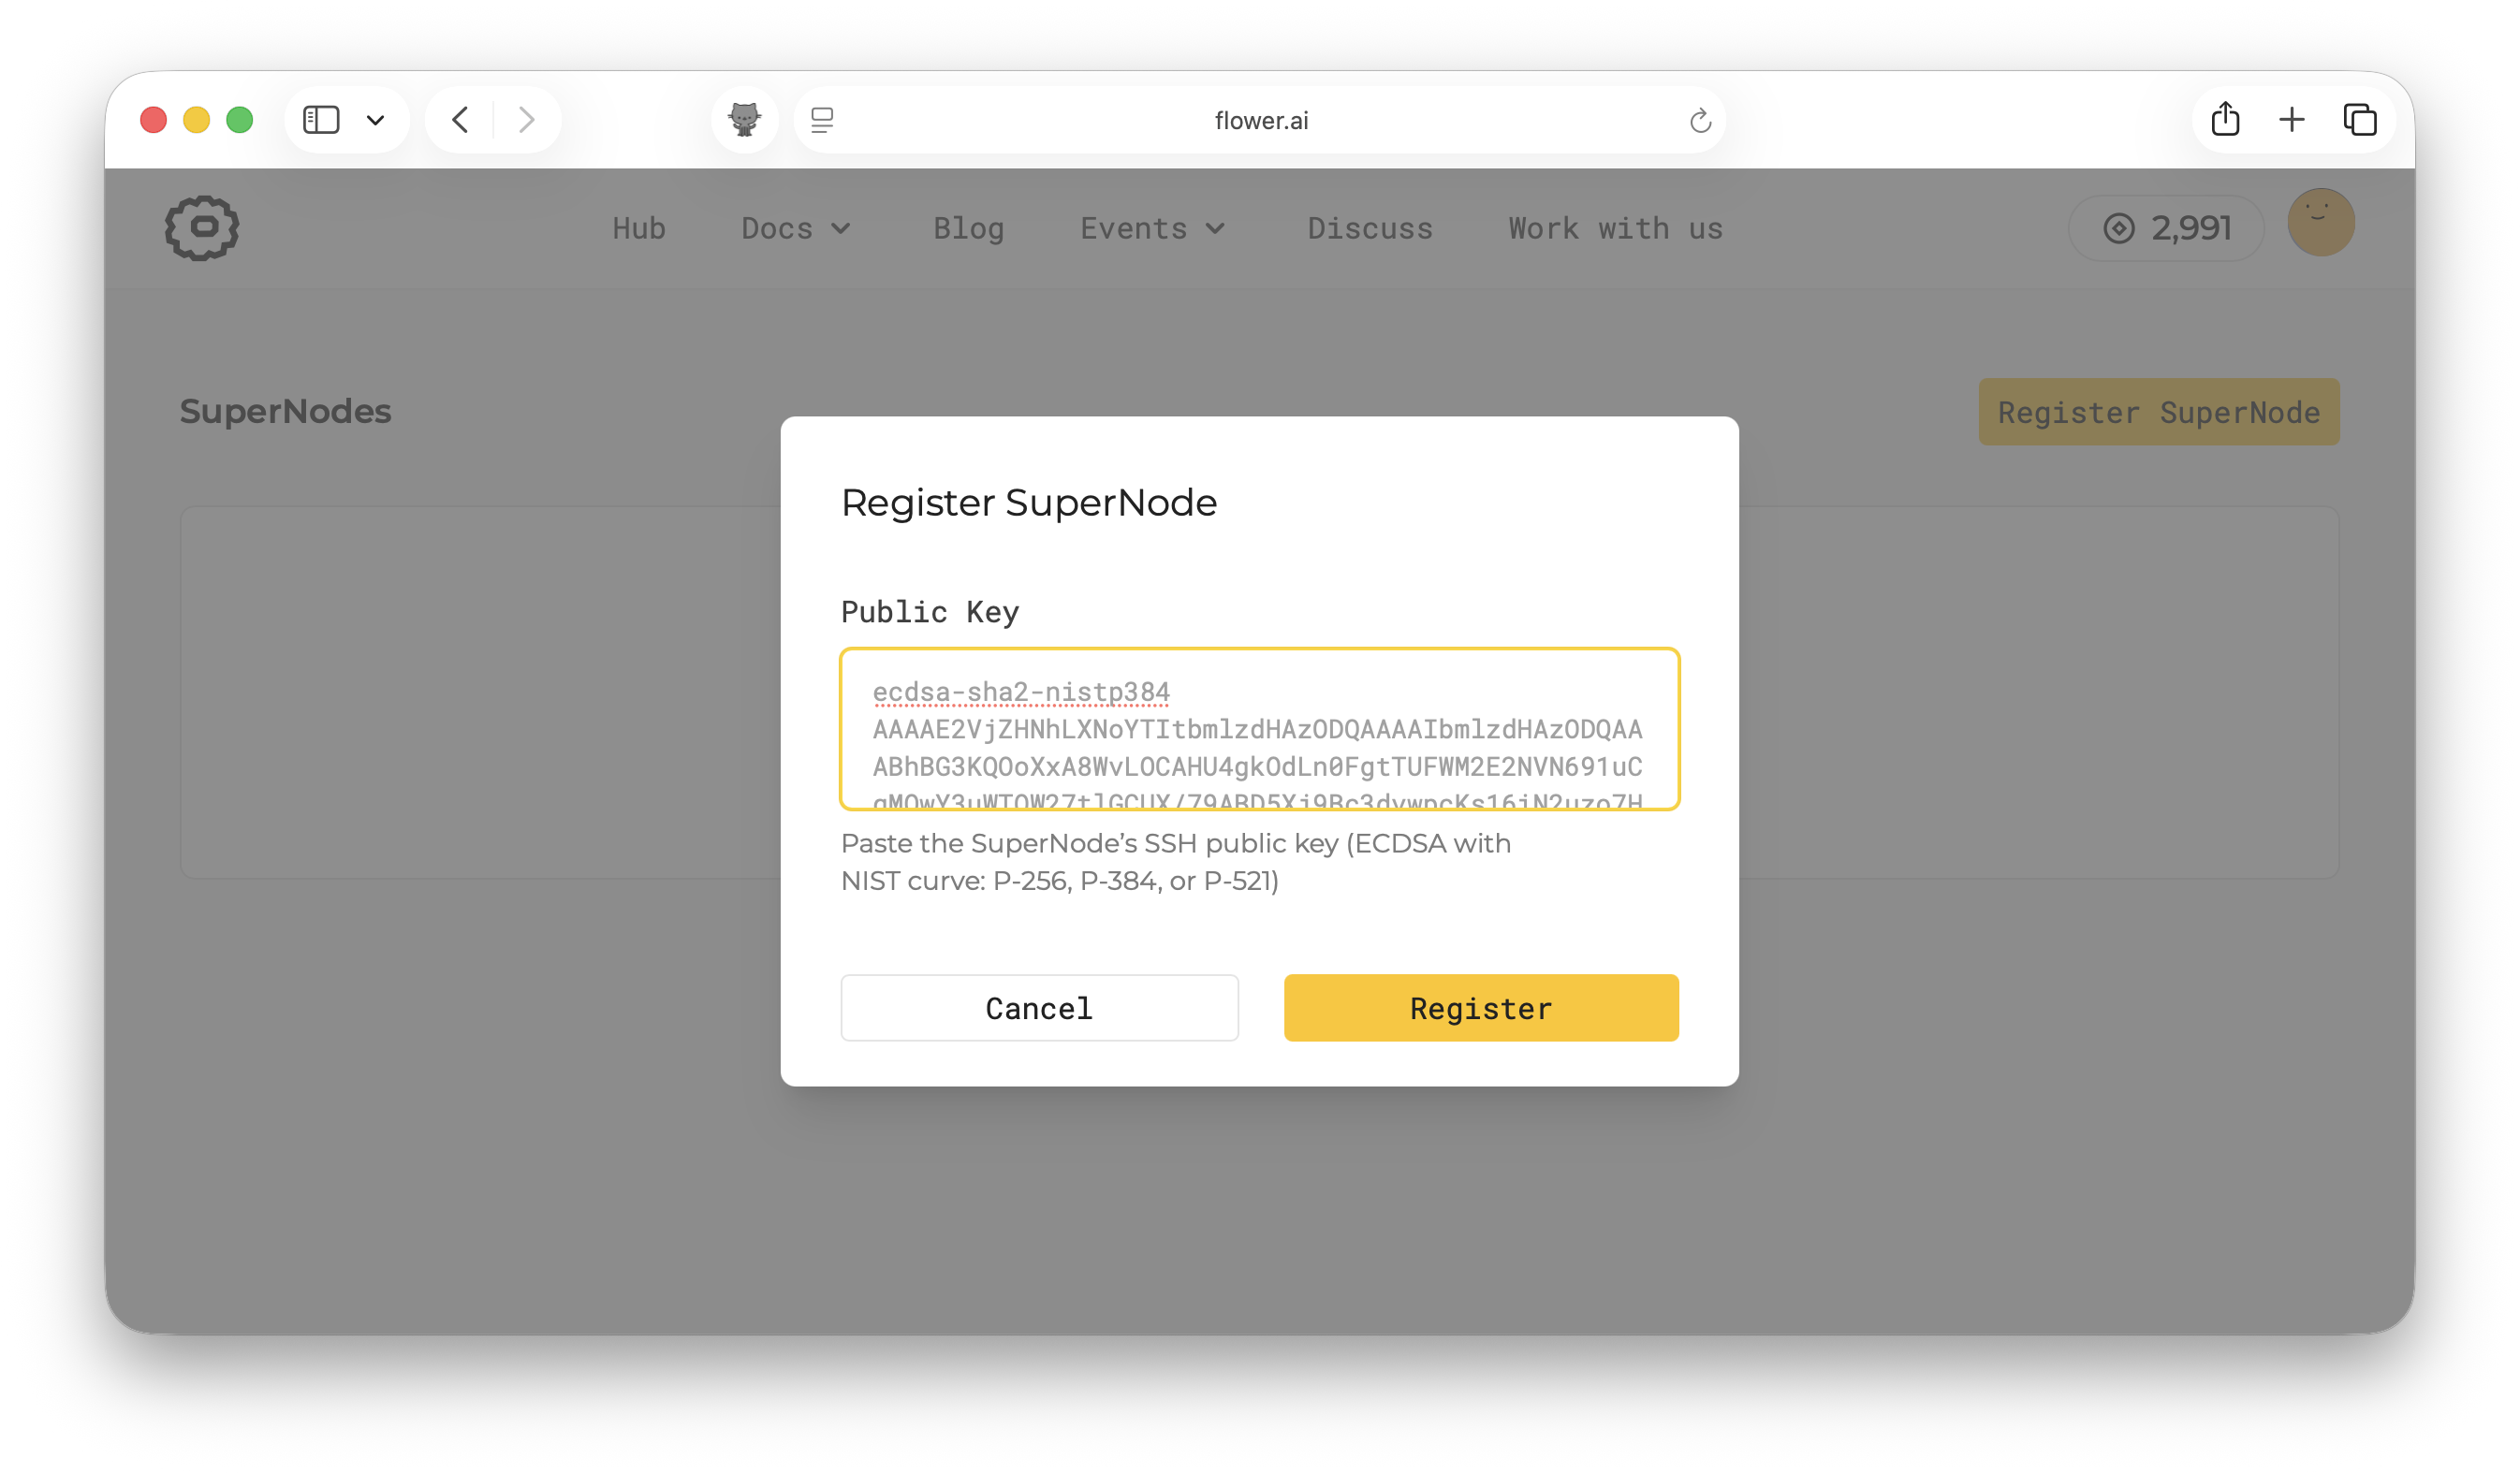
Le SuperNode devrait alors apparaître dans la liste des SuperNodes enregistrés.
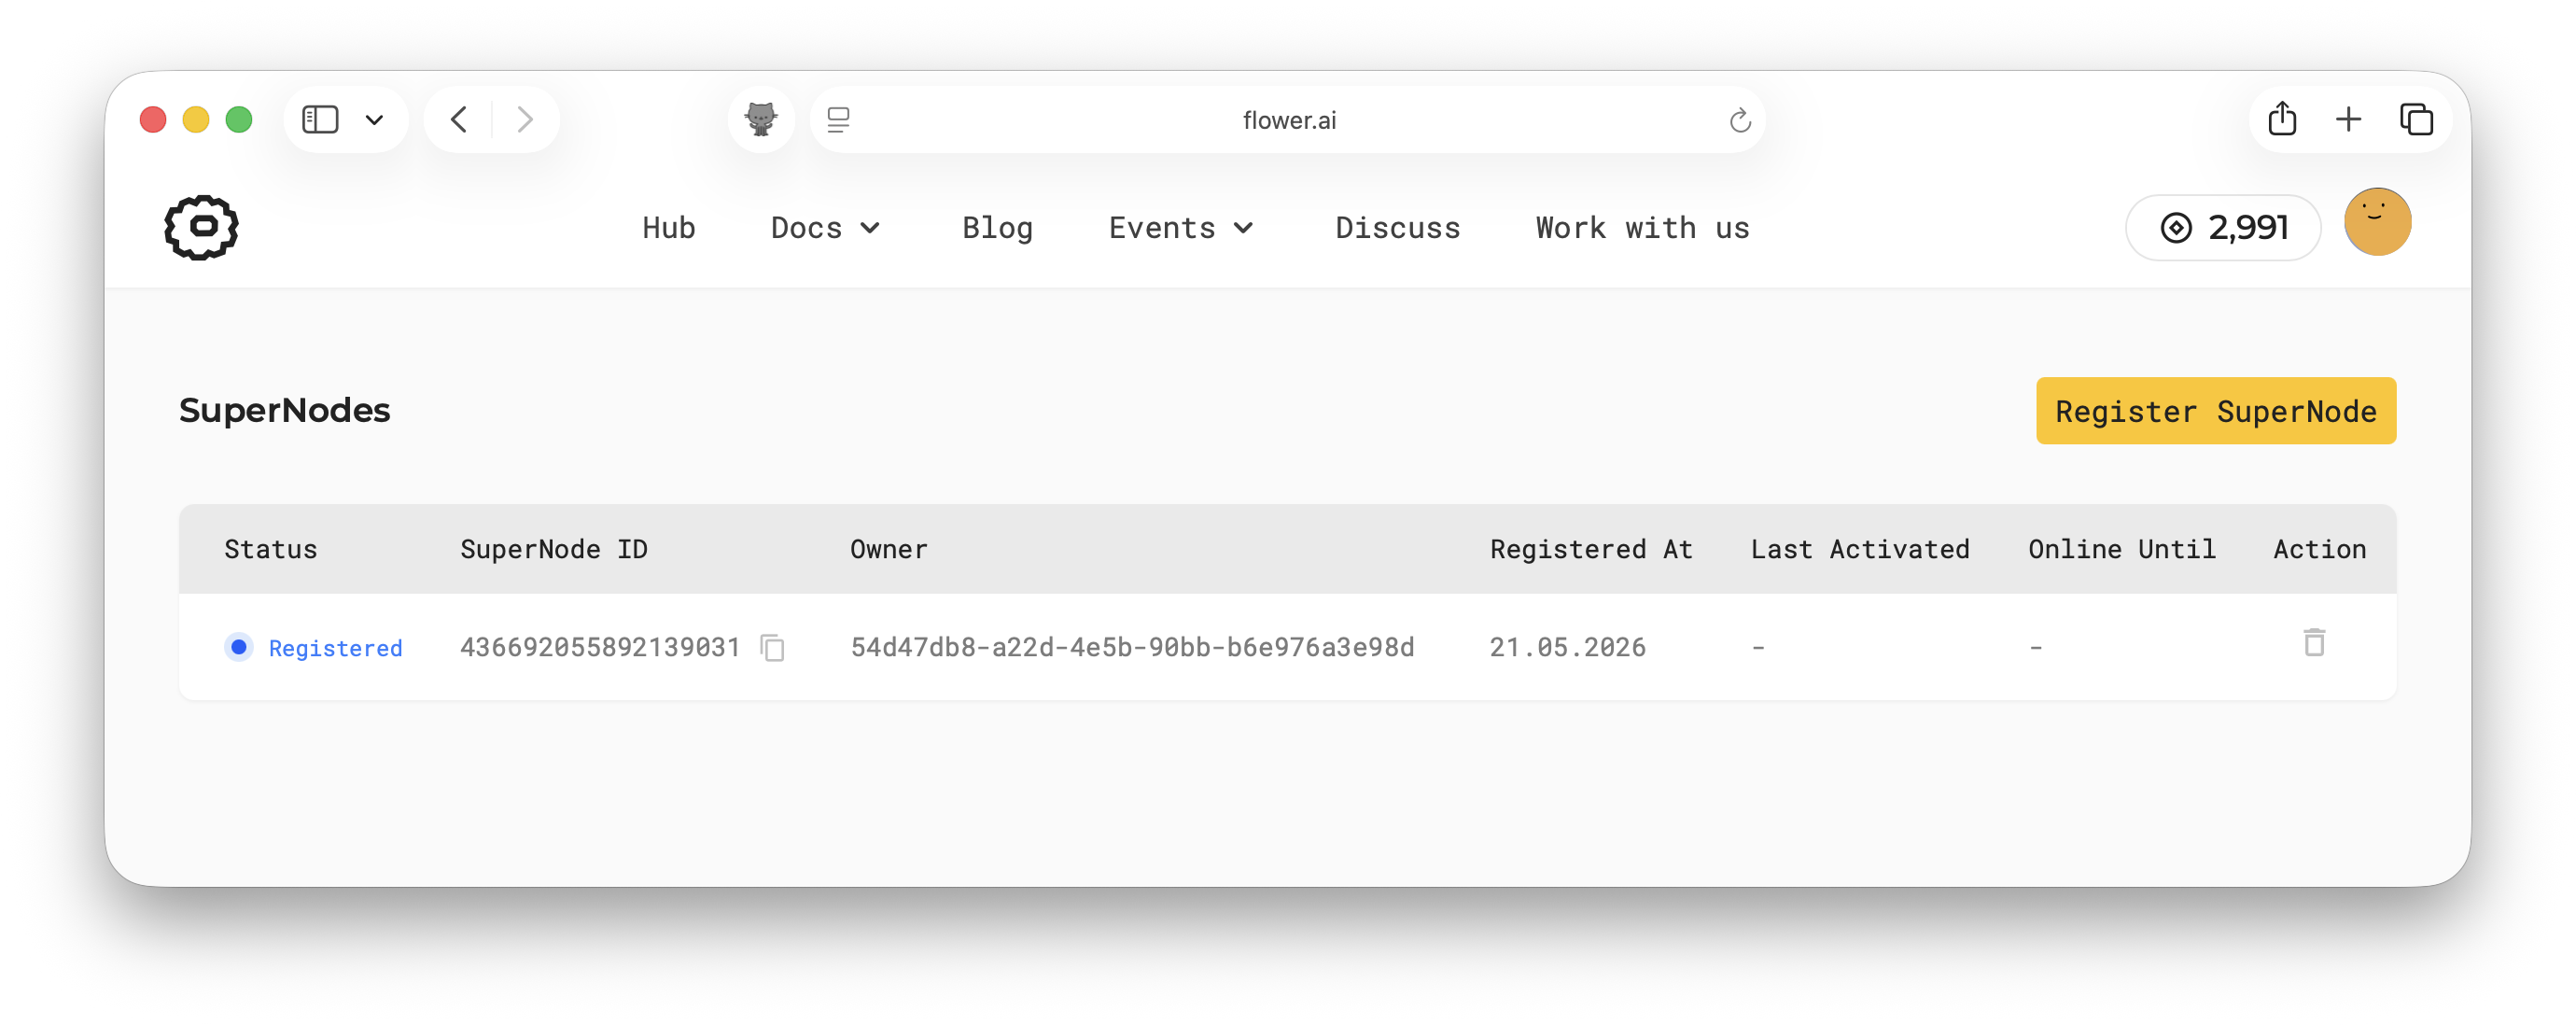
Pour connecter plus de SuperNodes, créez et enregistrez une paire de clés distincte pour chacun. N’utilisez pas une paire de clés à plusieurs reprises sur plusieurs SuperNodes.
Connecter des SuperNodes à la grille SuperGrid
Il existe deux façons courantes d’exécuter un SuperNode : directement depuis un environnement Python, ou avec l’image officielle Docker du SuperNode. Dans les deux cas, utilisez la clé privée correspondant à la clé publique que vous avez enregistrée dans SuperGrid.
Note
Un SuperNode doit être capable d’exécuter les applications Client assignées à lui. Assurez-vous que l’environnement SuperNode ou l’image Docker inclut les dépendances nécessaires pour ces applications Client, telles que PyTorch, TensorFlow, pandas ou autres packages spécifiques au framework. Vous pouvez préinstaller-les dans l’environnement Python, construire une image Docker personnalisée avec les packages requis, ou démarrer l’application avec SuperNode et --allow-runtime-dependency-installation afin que les dépendances de l’application soient installées en temps réel.
Démarrer depuis un environnement Python
Installez Flower dans un environnement Python sur le poste qui exécutera le SuperNode :
$ pip install -U flwr
Démarrer le SuperNode :
$ flower-supernode \
    --superlink fleet-supergrid.flower.ai:443 \
    --auth-supernode-private-key ~/supernodes_keys/supernode-1
Conservez ce processus en cours pour aussi longtemps que vous souhaitez que le SuperNode reste connecté.
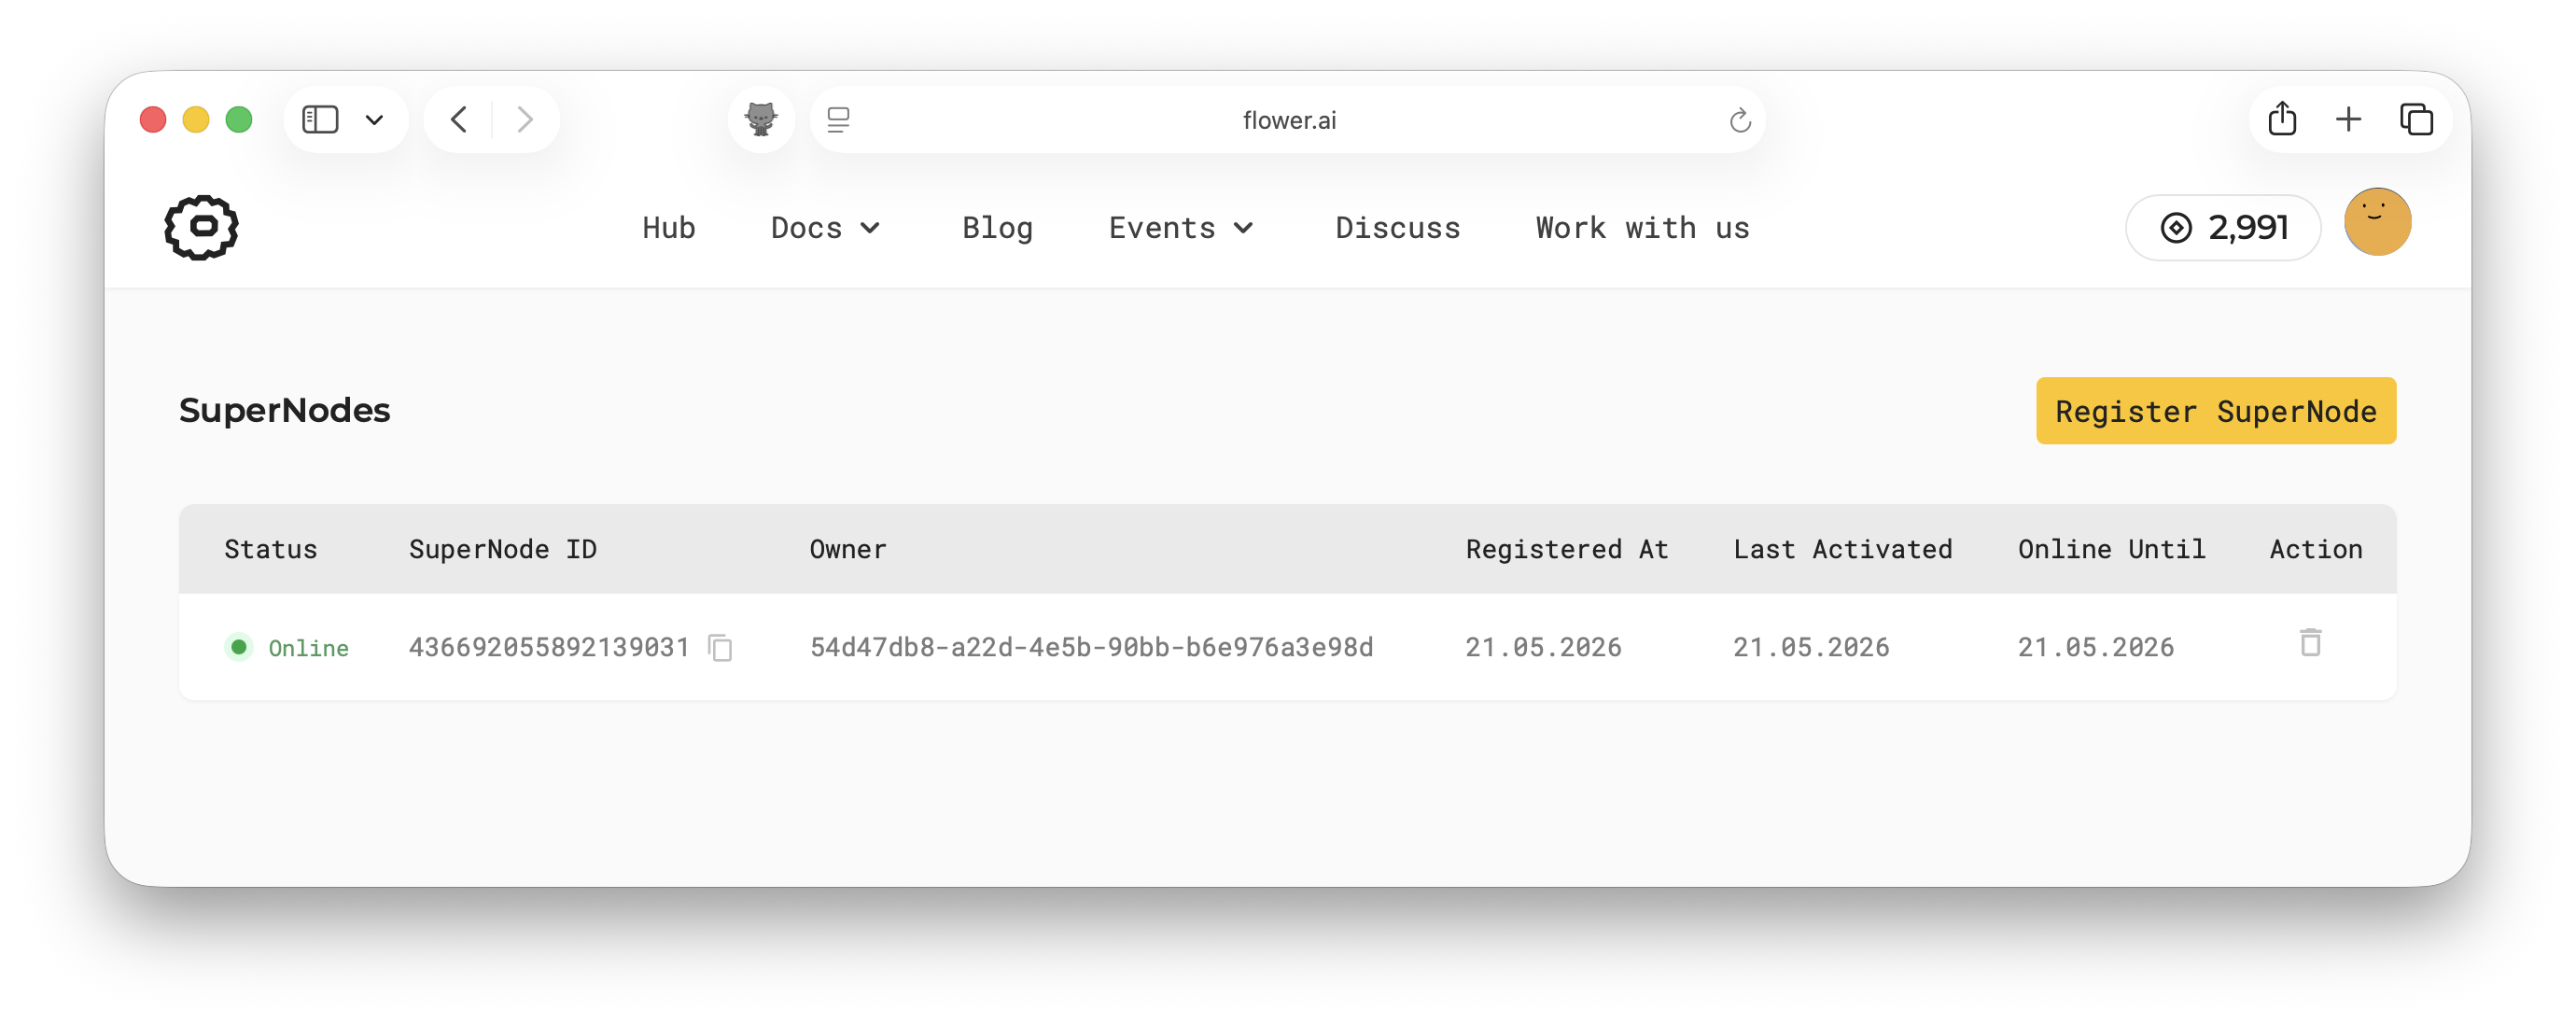
Votre SuperNode devrait apparaître sous la forme online:
Démarrer avec Docker
Vous pouvez également exécuter le SuperNode avec l’image officielle flwr/supernode Docker image. Montez le répertoire contenant la clé privée dans le conteneur, puis passez le chemin de la clé à flower-supernode:
$ docker run --rm \
    --user "$(id -u):$(id -g)" \
    -e FLWR_HOME=/tmp/flwr-home \
    -v "$HOME/supernodes_keys:/keys:ro" \
    flwr/supernode:1.41.0 \
    --superlink fleet-supergrid.flower.ai:443 \
    --auth-supernode-private-key /keys/supernode-1
Comprendre la commande
--rm: Supprimez le conteneur après qu’il ait cessé d’exister.--user "$(id -u):$(id -g)": Exécutez le conteneur sous l’utilisateur hôte qui possède la clé privée montée. Les images Flower Docker s’exécutent par défaut sous un utilisateur non-root ; cela garde le conteneur non-root tout en lui permettant de lire les clés créées parssh-keygensans modifier leurs permissions de fichier.-e FLWR_HOME=/tmp/flwr-home: Définissez le répertoire home de Flower sur une emplacement local au conteneur. Le SuperNode utilise ce répertoire pour stocker les applications Flower reçues pendant les exécutions.-v "$HOME/supernodes_keys:/keys:ro": Montez le répertoire hôte contenant la clé privée du SuperNode dans le conteneur en lecture seule. Vous devrez peut-être ajuster le chemin si votre clé a un nom différent ou se trouve à une autre emplacement.flwr/supernode:XYZ: Utilisez l’image officielle SuperNode Docker.--superlink fleet-supergrid.flower.ai:443: Connectez le SuperNode à SuperGrid.--auth-supernode-private-key /keys/supernode-1: Utilisez la clé privée montée pour authentifier ce SuperNode. Vous devrez peut-être ajuster le chemin si votre clé a un nom différent ou se trouve dans une autre localisation.
Utilisez cette forme lorsque vous préférez exécuter les SuperNodes à partir d’une image de conteneur plutôt que d’installer Flower directement dans un environnement Python.
Ajouter un SuperNode à une Fédération de Déploiement
Après avoir enregistré un SuperNode dans SuperGrid, vous pouvez l’ajouter à toute fédération de déploiement dont vous êtes membre. Le SuperNode peut alors participer aux exécutions lancées dans cette fédération.
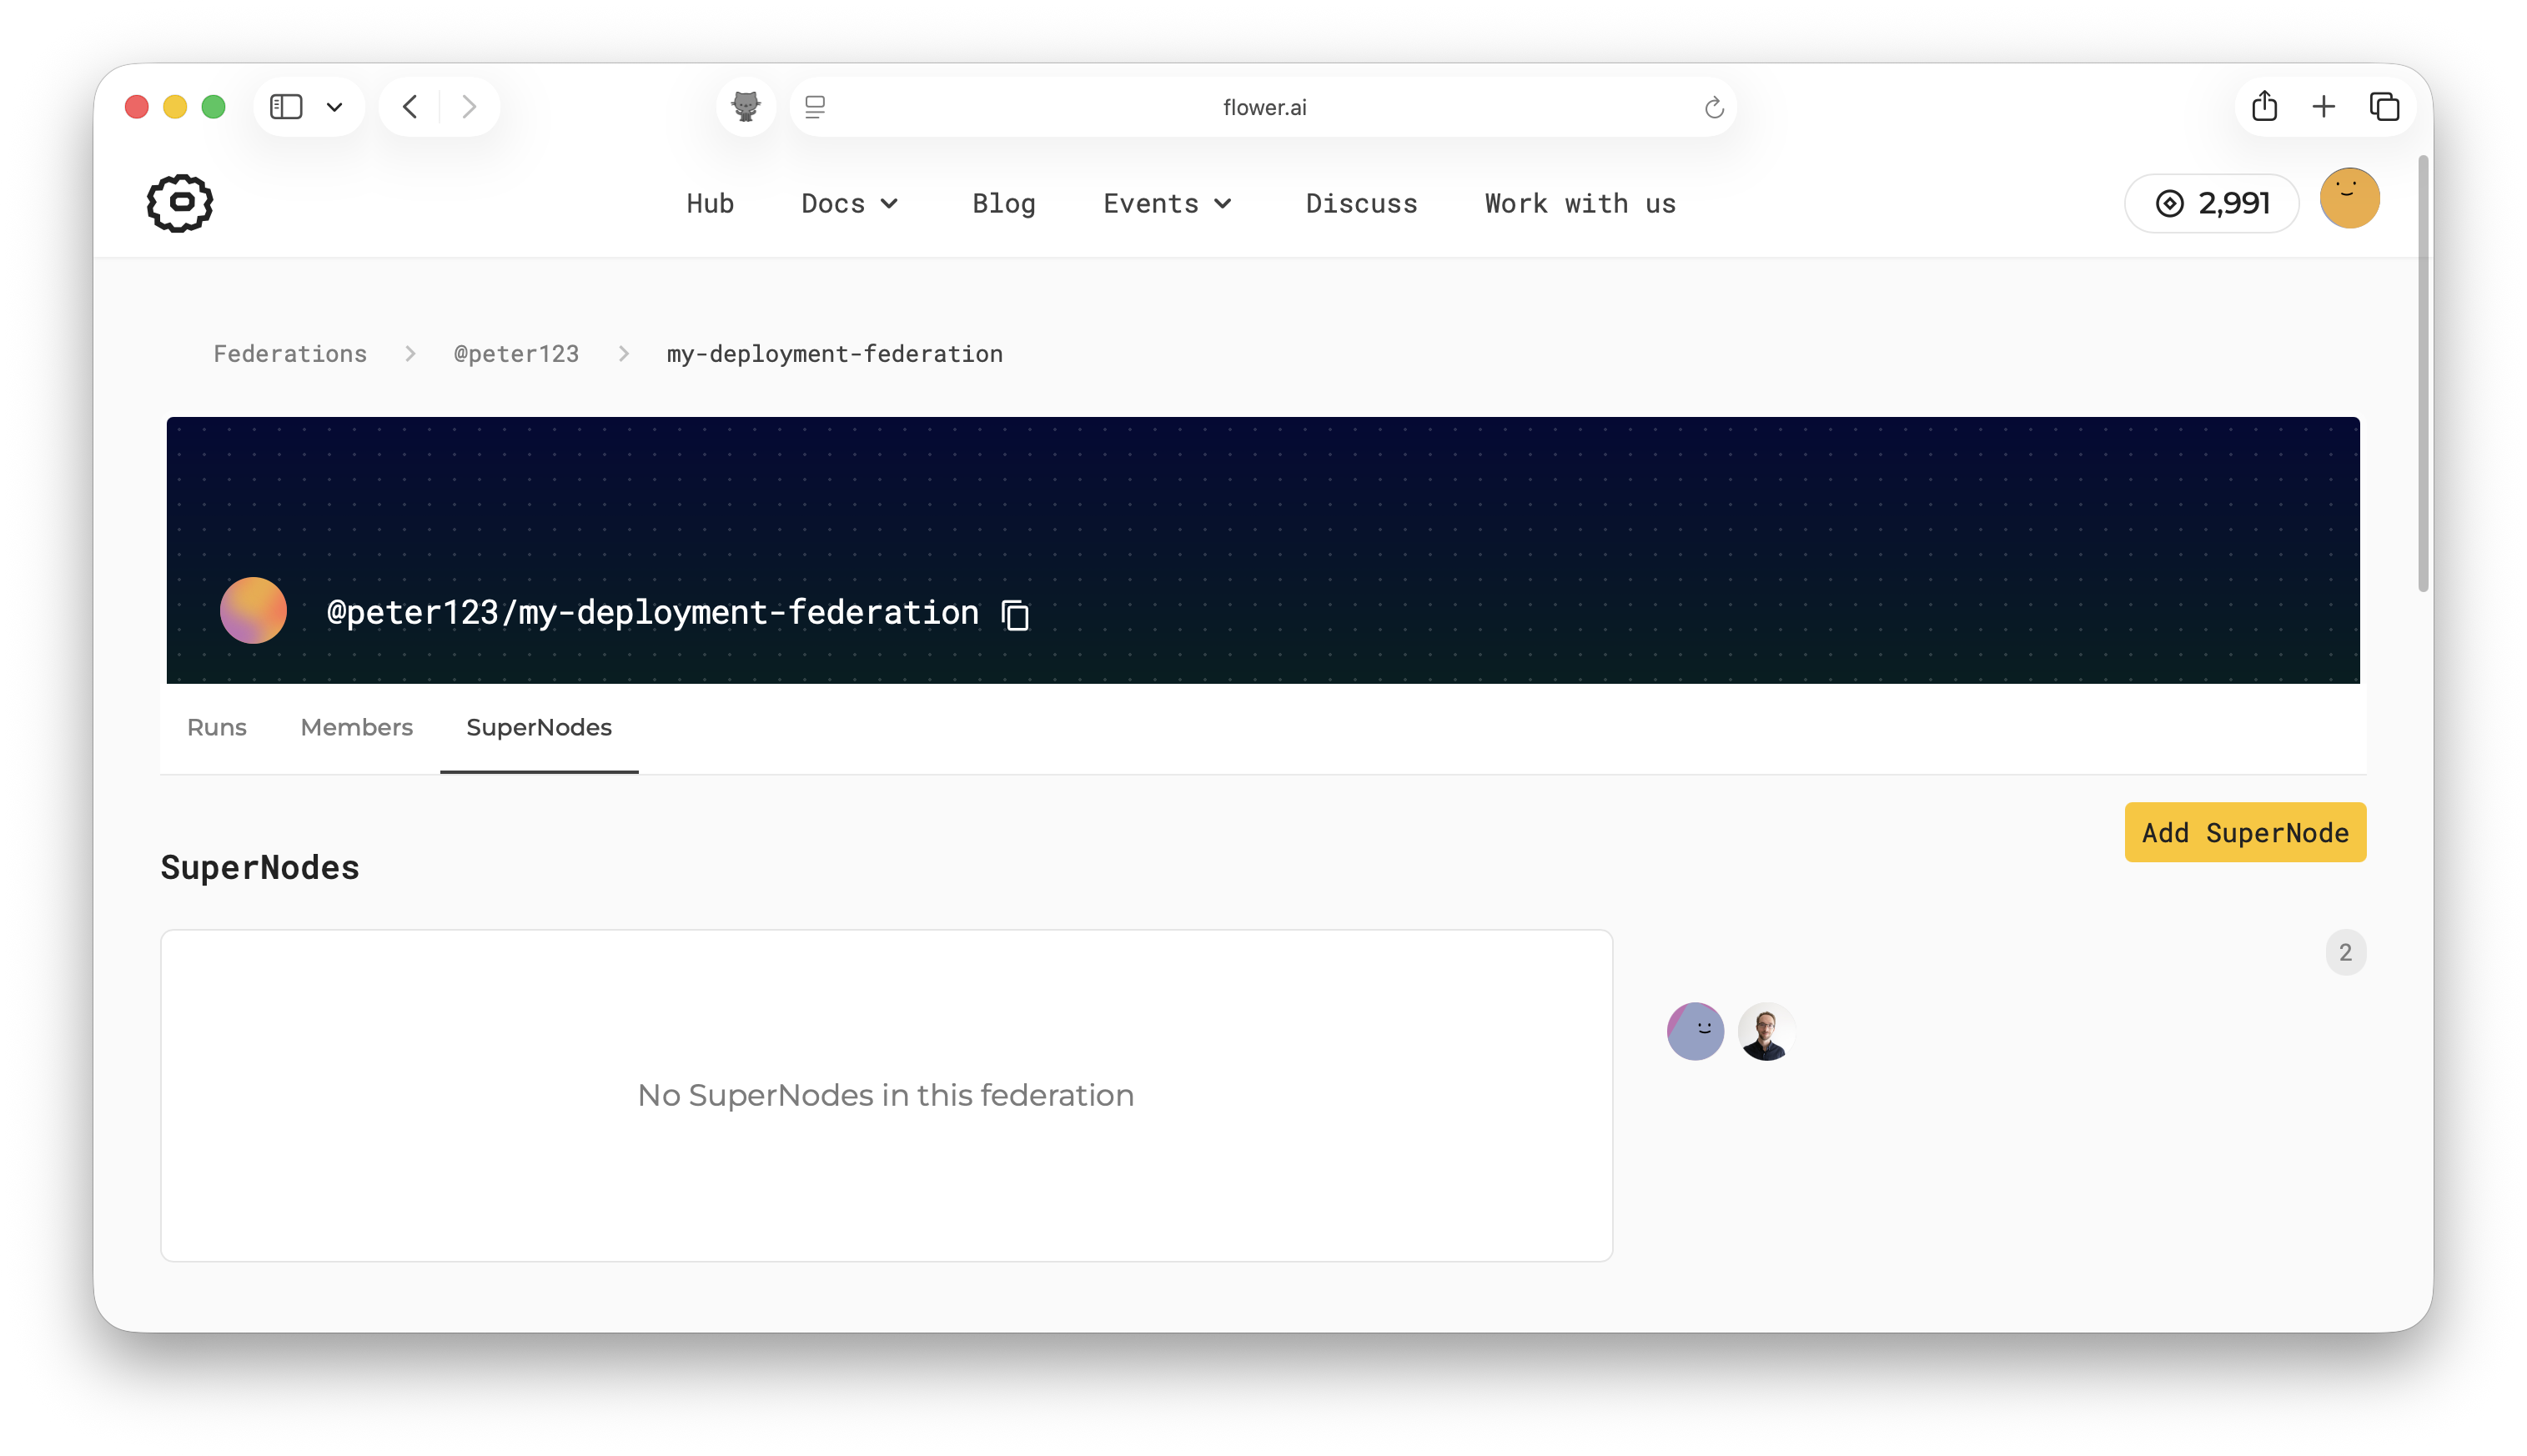
Naviguez vers la page de fédération dans SuperGrid et ouvrez l’onglet SuperNodes. Si la fédération n’a pas encore de SuperNodes, la liste sera vide. Cliquez sur Add SuperNode.
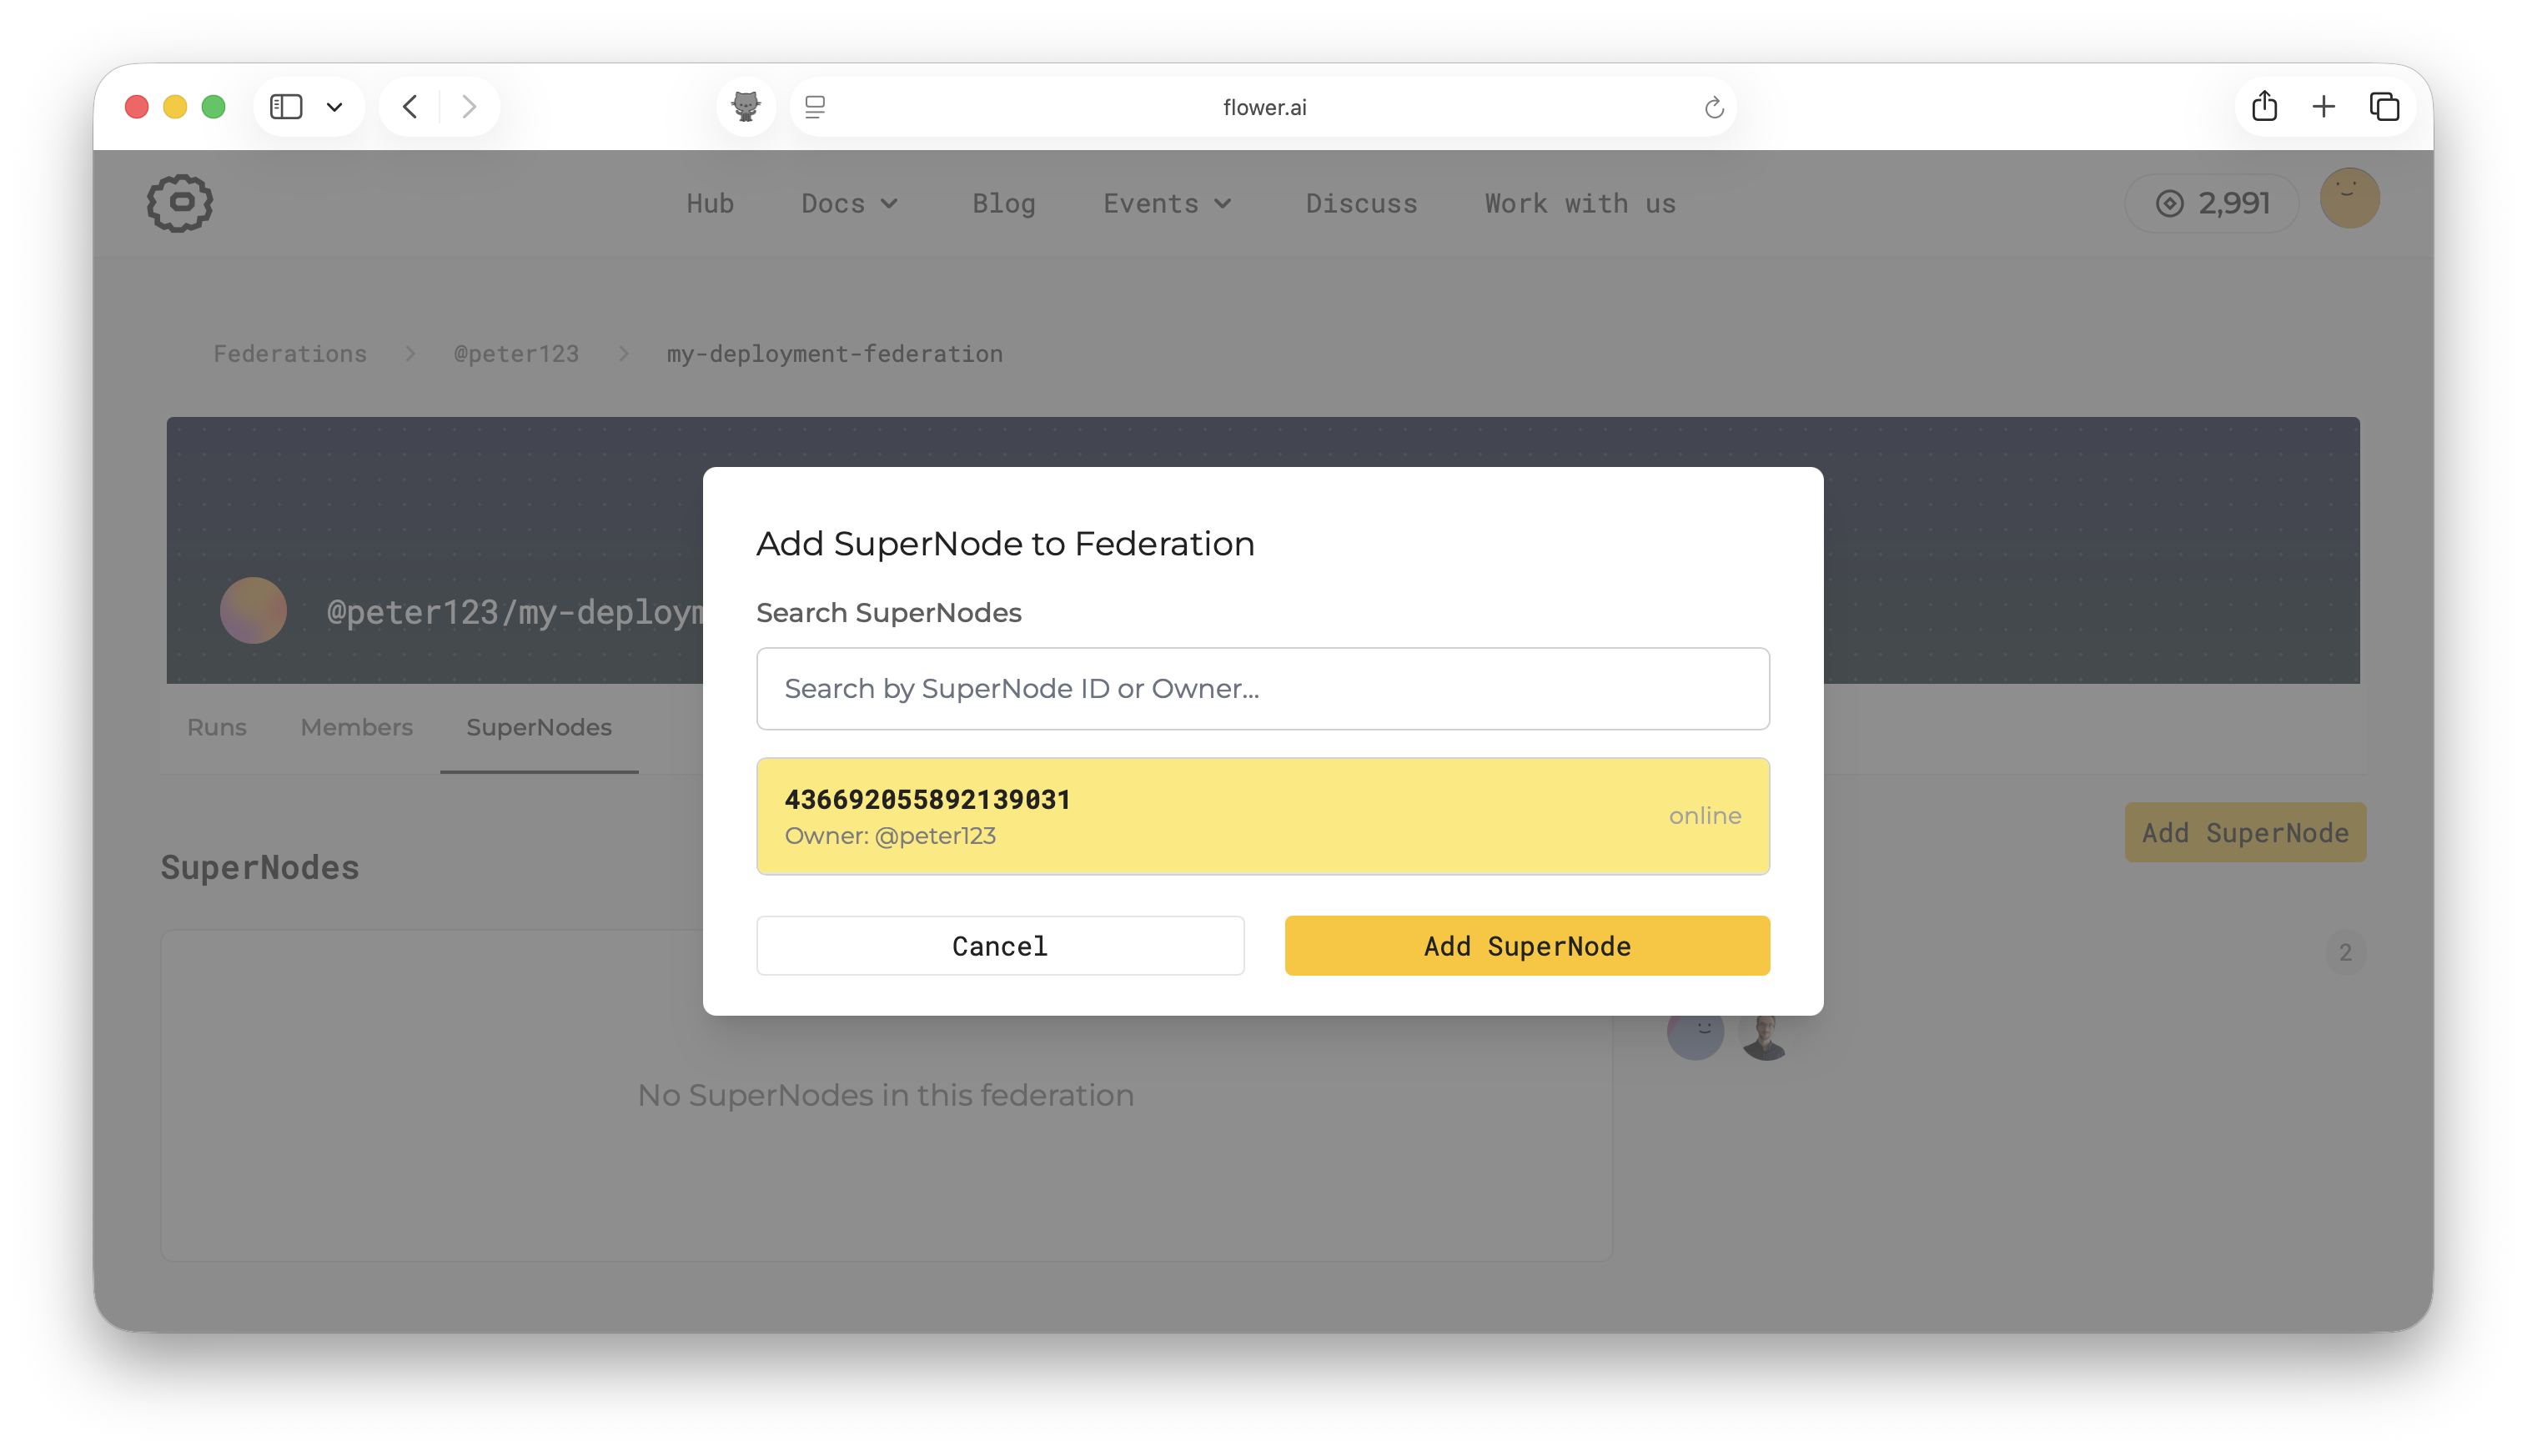
Sélectionnez le SuperNode que vous souhaitez ajouter. Vous pouvez rechercher par ID ou propriétaire si la liste contient beaucoup de SuperNodes. Ensuite, cliquez sur Add SuperNode.
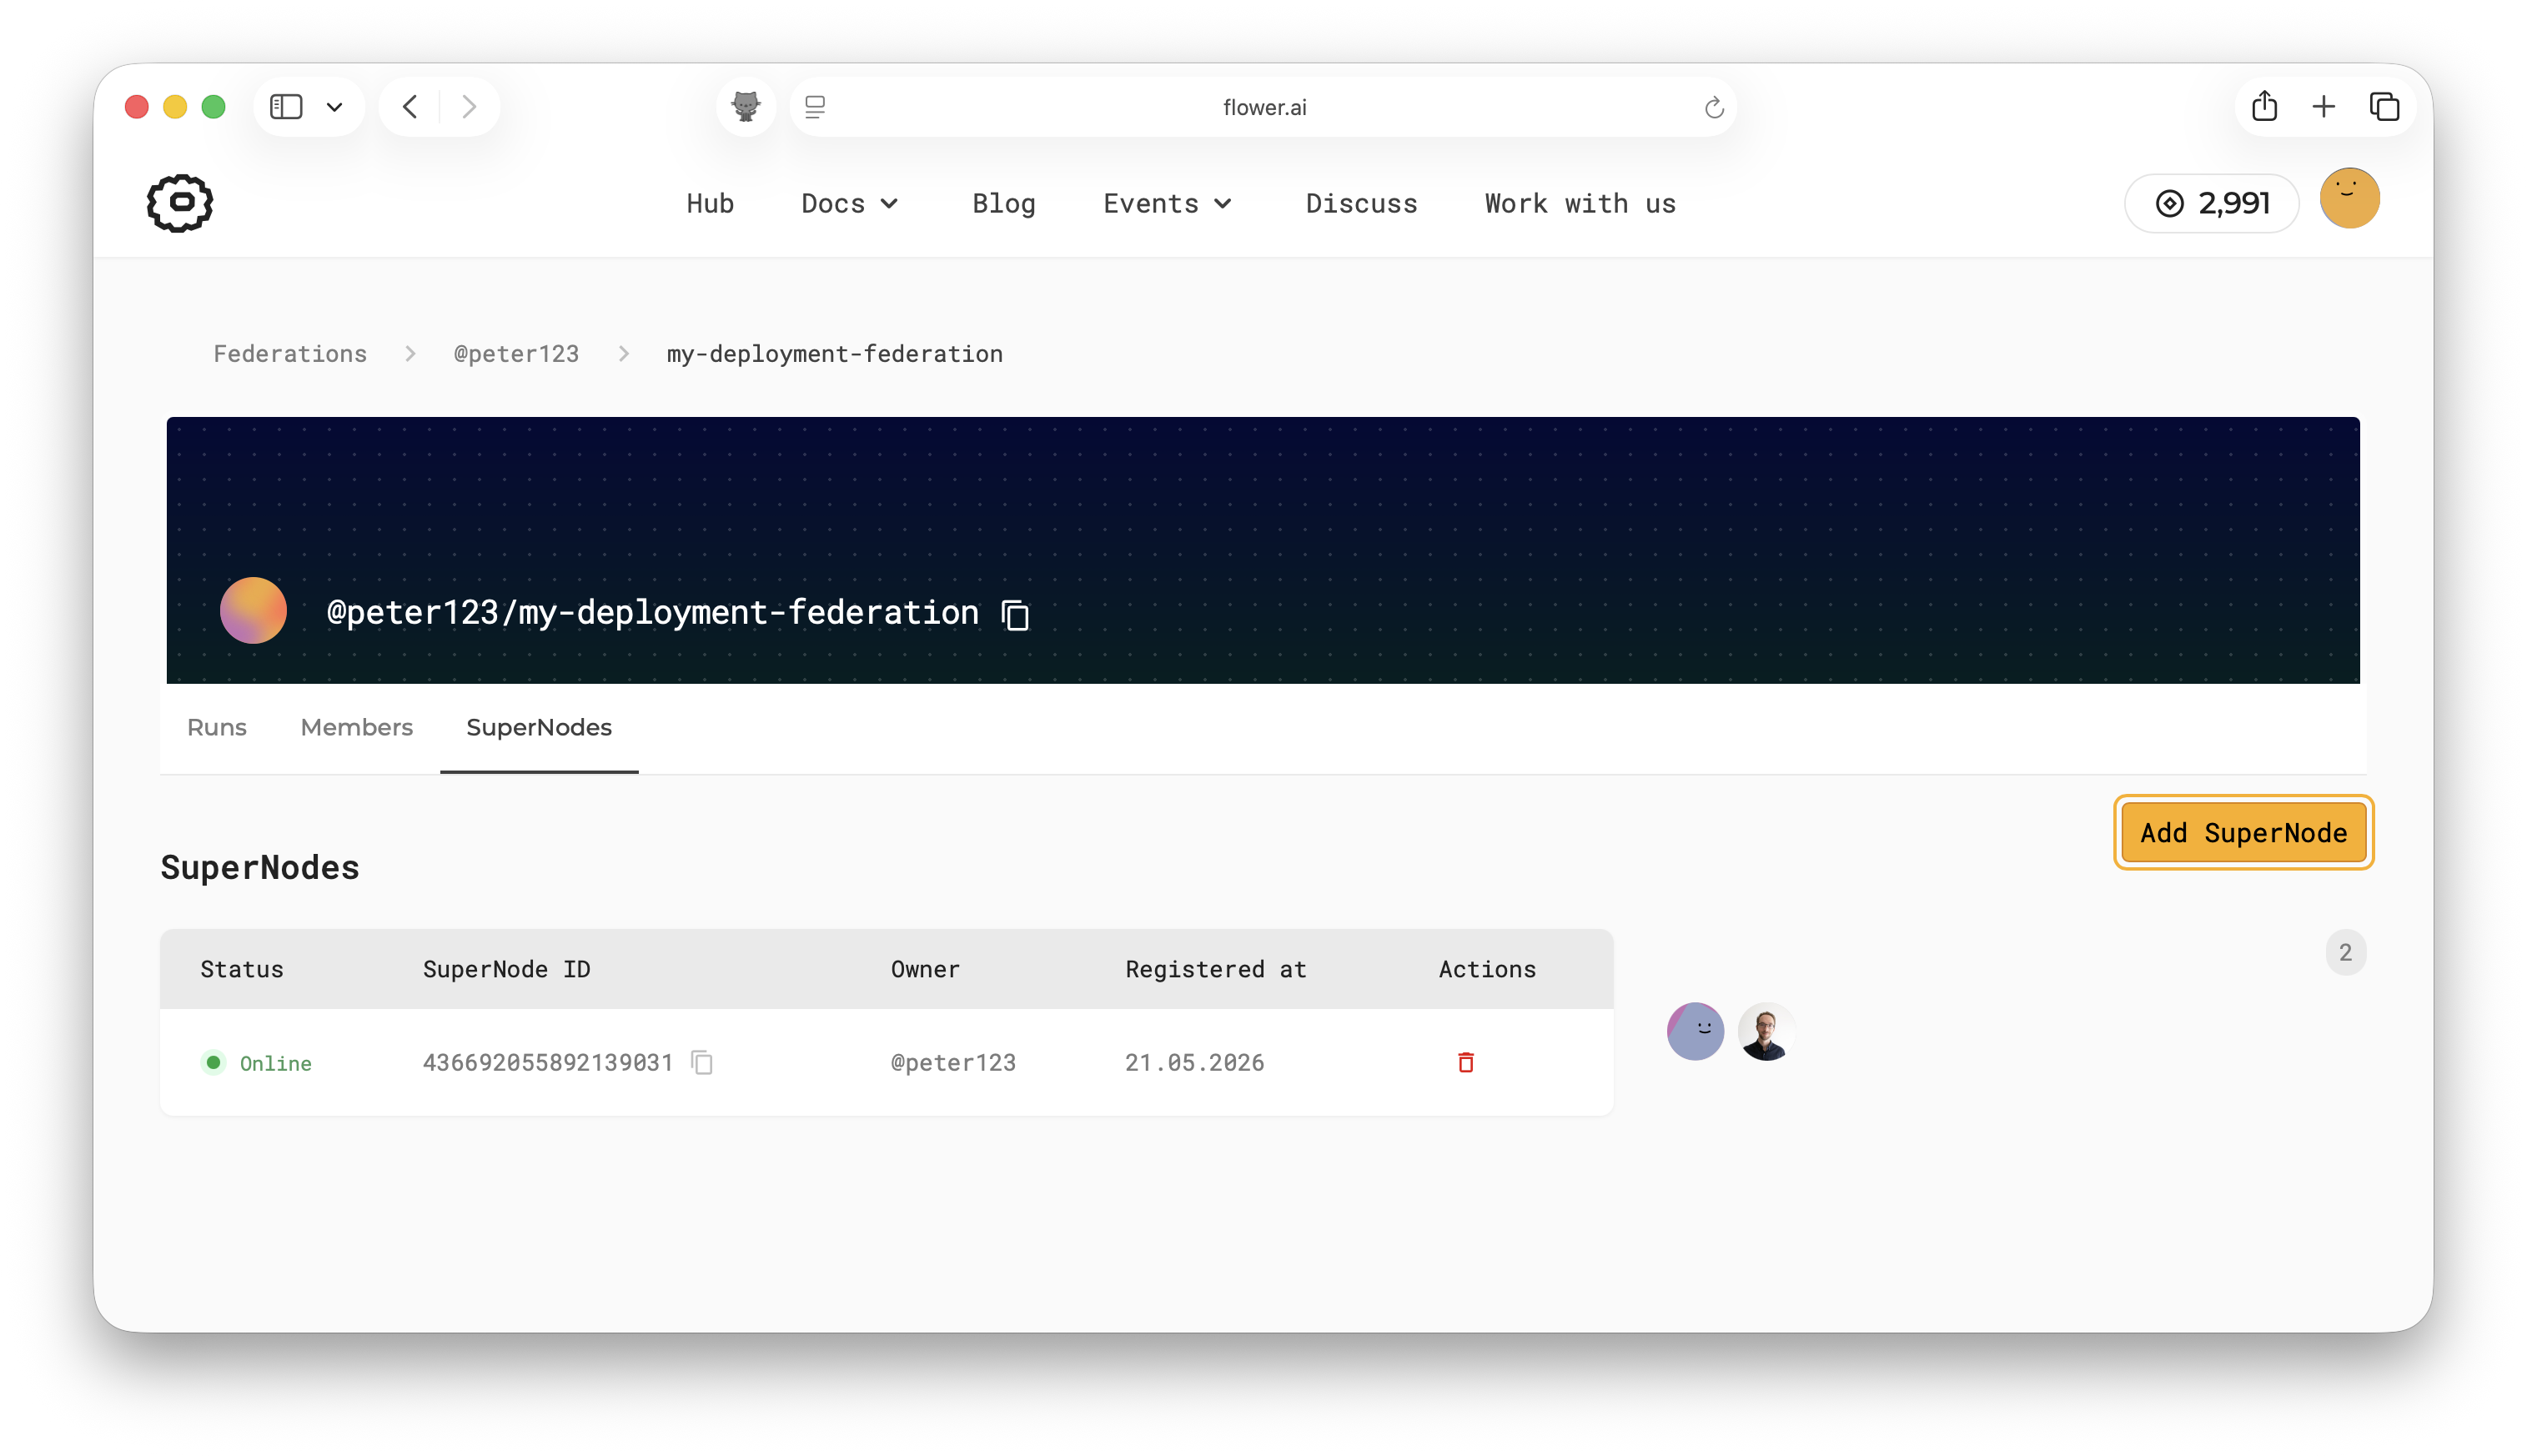
Une fois ajouté, le SuperNode est listé dans l’onglet SuperNodes de la fédération et peut être sélectionné par les runs lancés dans la fédération.
Advanced
Everything shown above in the SuperGrid UI can also be done with the Flower CLI.
Log in to SuperGrid:
$ flwr login supergrid
Register a SuperNode public key:
# Register a SuperNode with a public key
$ flwr supernode register ~/supernodes_keys/supernode-1.pub supergrid
List registered SuperNodes and note the SuperNode ID:
# List registered SuperNodes under your account
$ flwr supernode list supergrid --verbose
Add the SuperNode to a deployment federation you are a member of:
$ flwr federation add-supernode <supernode-id> \
    @<username>/<federation-name> supergrid
Optionally, remove the SuperNode from a federation or unregister it:
# Remove the SuperNode from the federation
$ flwr federation remove-supernode <supernode-id> \
    @<username>/<federation-name> supergrid

# Unregister the SuperNode from SuperGrid. This cannot be undone, and the SuperNode
# cannot be used again unless it is registered again with a different key.
$ flwr supernode unregister <supernode-id> supergrid